fall Recipe
Pumpkin, apple and chocolate muffins with my almost 3 year old

Ingredients
Makes about 12 -16 muffins
Dry Ingredients
350g flour
2 tsp baking powder
½ tsp baking soda
1 tsp salt
2 tsp cinnamon powder
½ tsp clove powder
1 tsp fresh nutmeg or powdered
1 tsp turmeric powder
Wet Ingredients
100g brown sugar
110g granulated sugar
1 tsp vanilla extract
445g pumpkin puree
65g yogurt
105g / ½ cup olive oil
2 tbsp molasses
2 large eggs, room temperature
200g chopped dark chocolate or chocolate chips (optional)
3-4 apples – cored, peeled and sliced for your child to cut (any size they can manage)
Preparation
1- Preheat oven to 220c / 425f (or later in the process to save energy)
2- Lightly oil your muffin pans with olive oil, either with a brush or paper towel
3- Chop up your chocolate into small pieces (skip this step if you use chocolate chips)
4- Peel your apples and cut up into small/medium pieces
5- In a large bowl measure out your wet ingredients, whisk them together
6- In another bowl measure out your dry ingredients, whisk them together
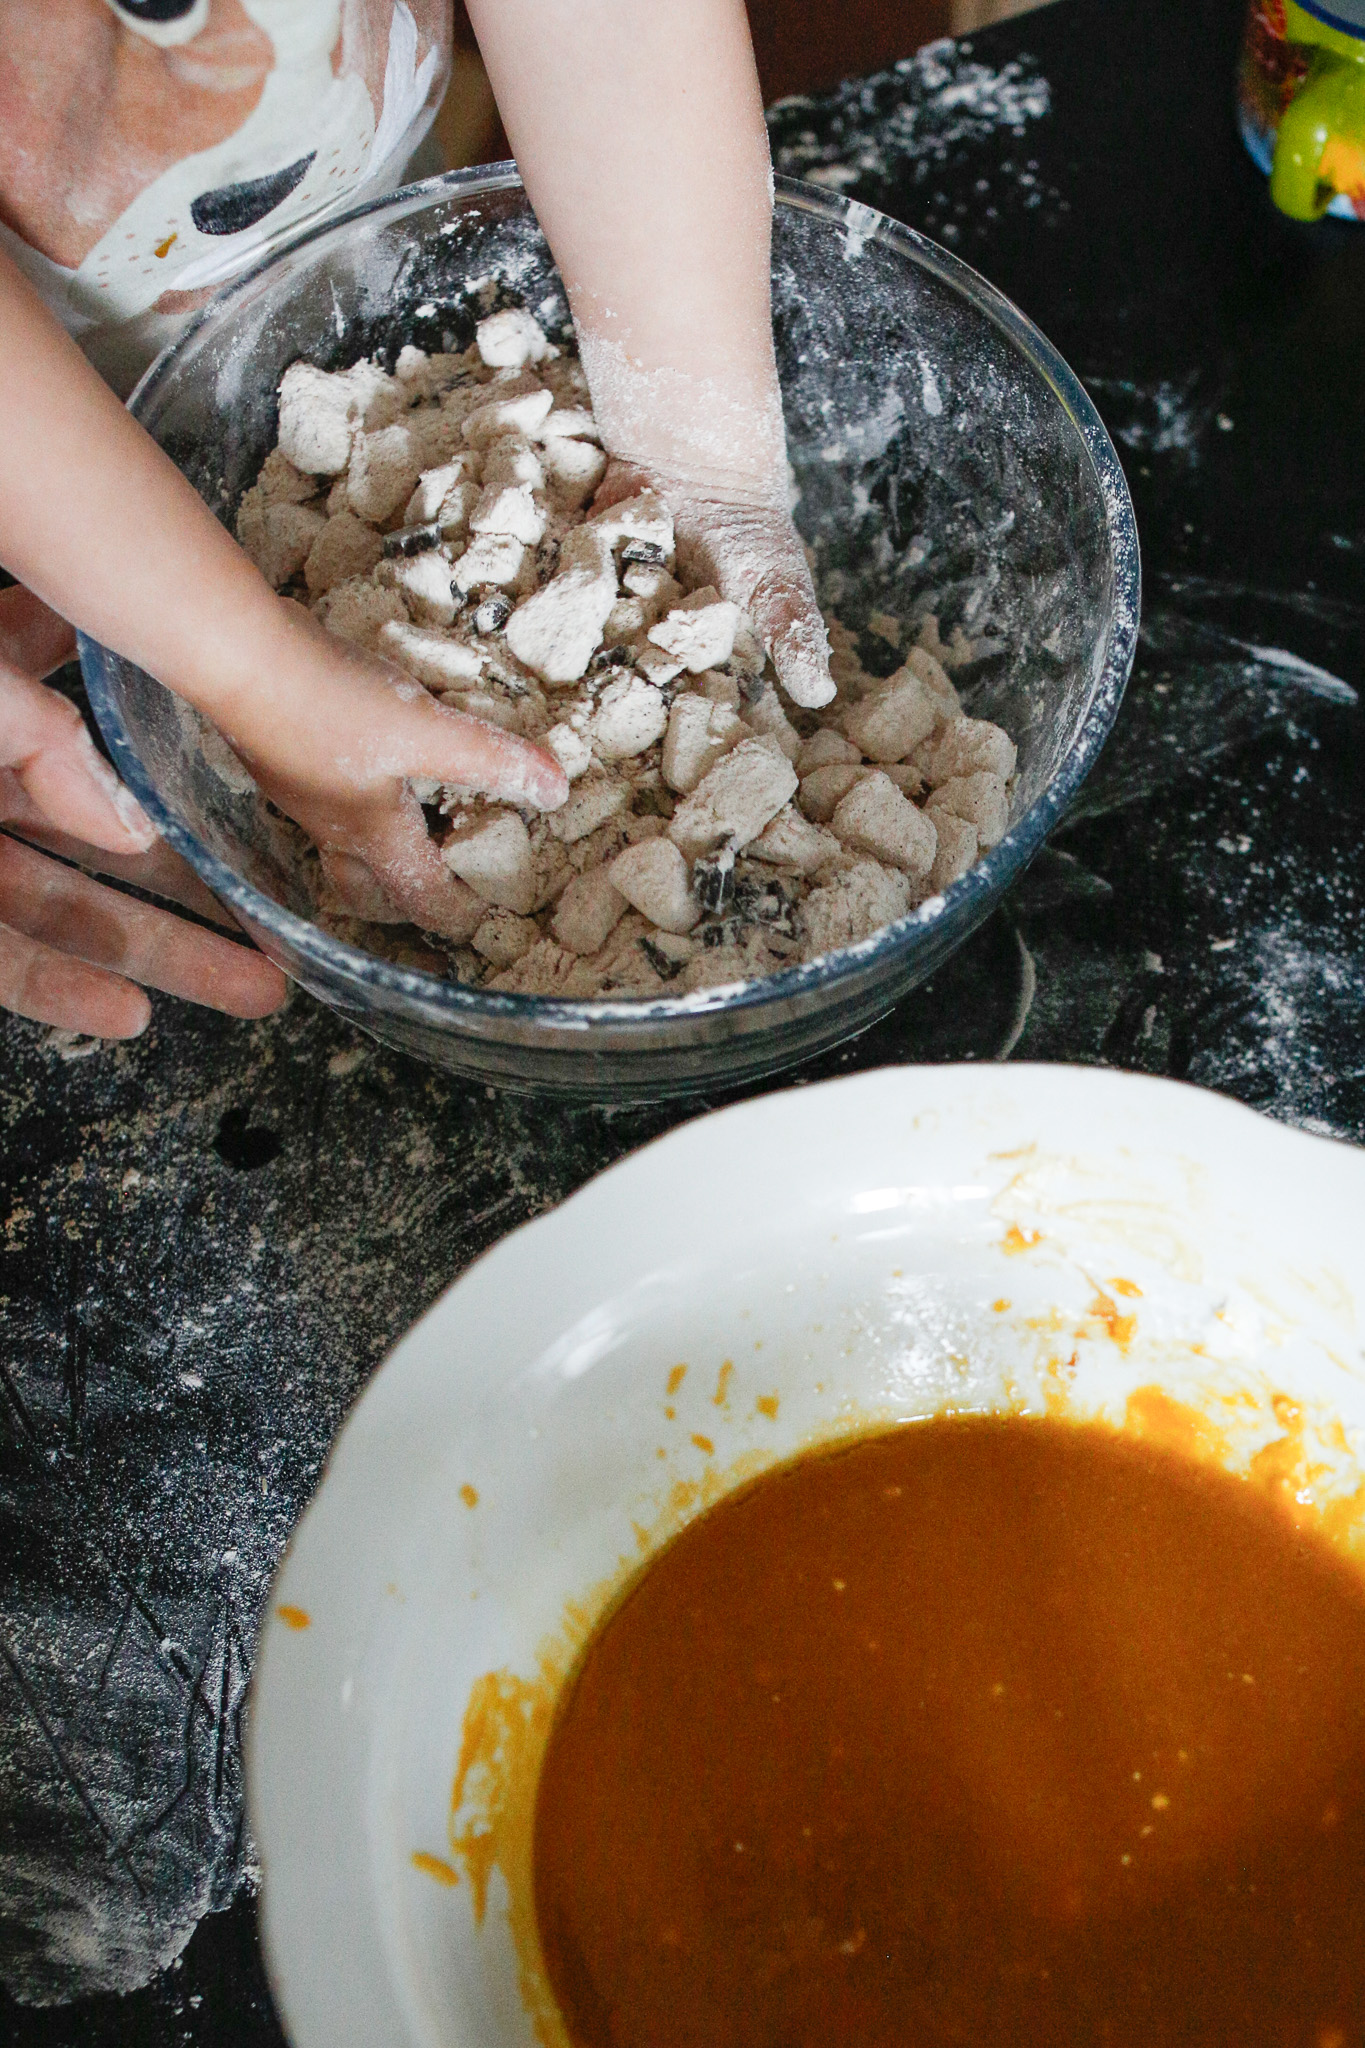
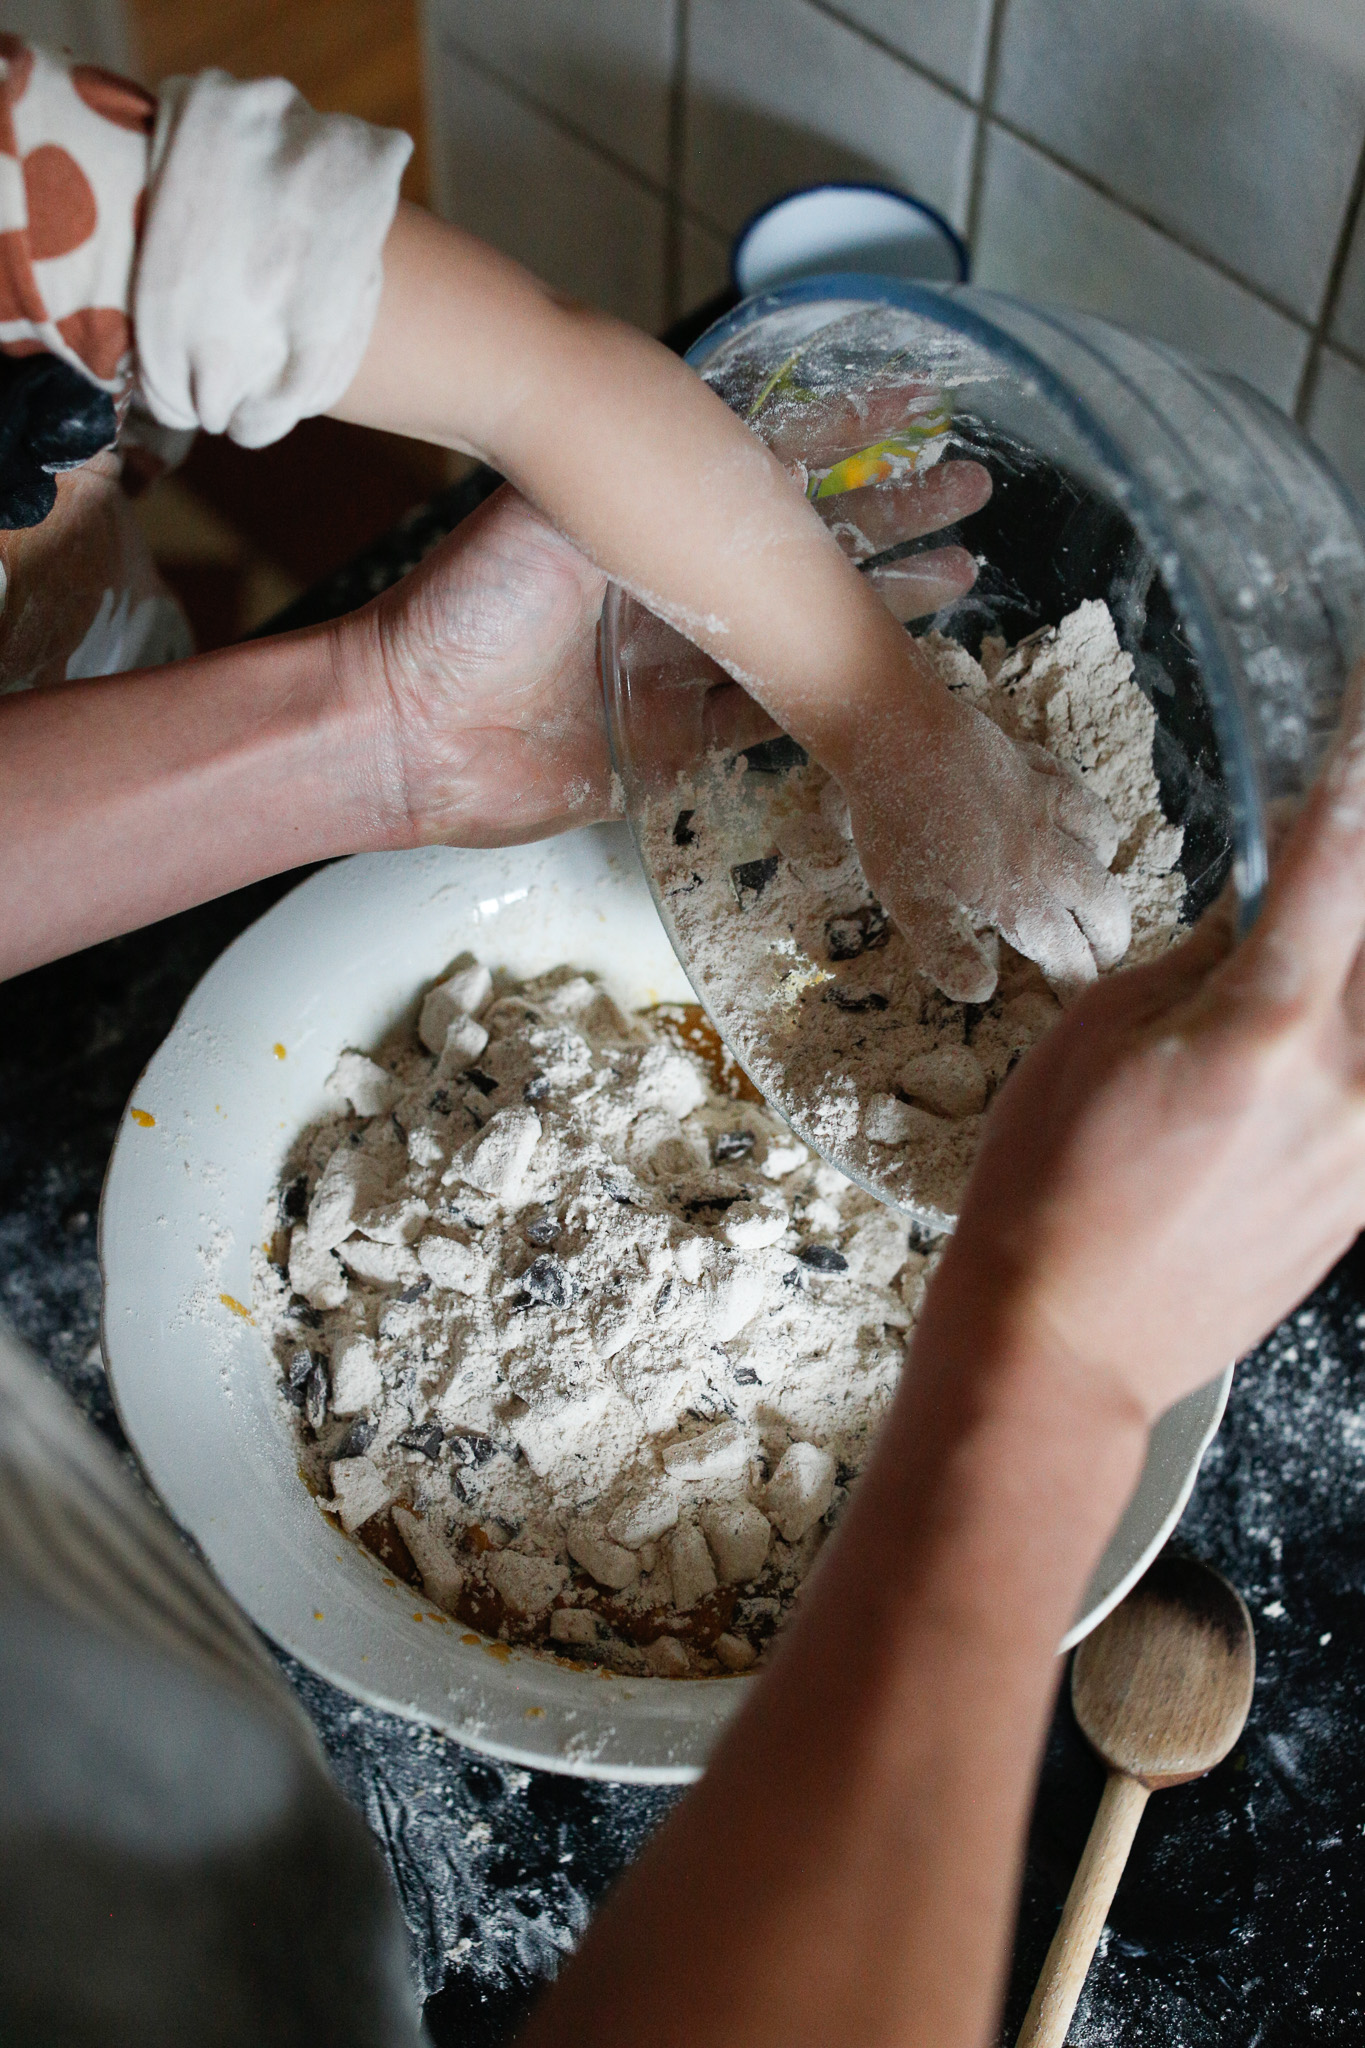
7- Toss your apple cuts and chocolate into your dry ingredients to coat them with the flour (this is the ensure they don’t sink in the muffin tins)
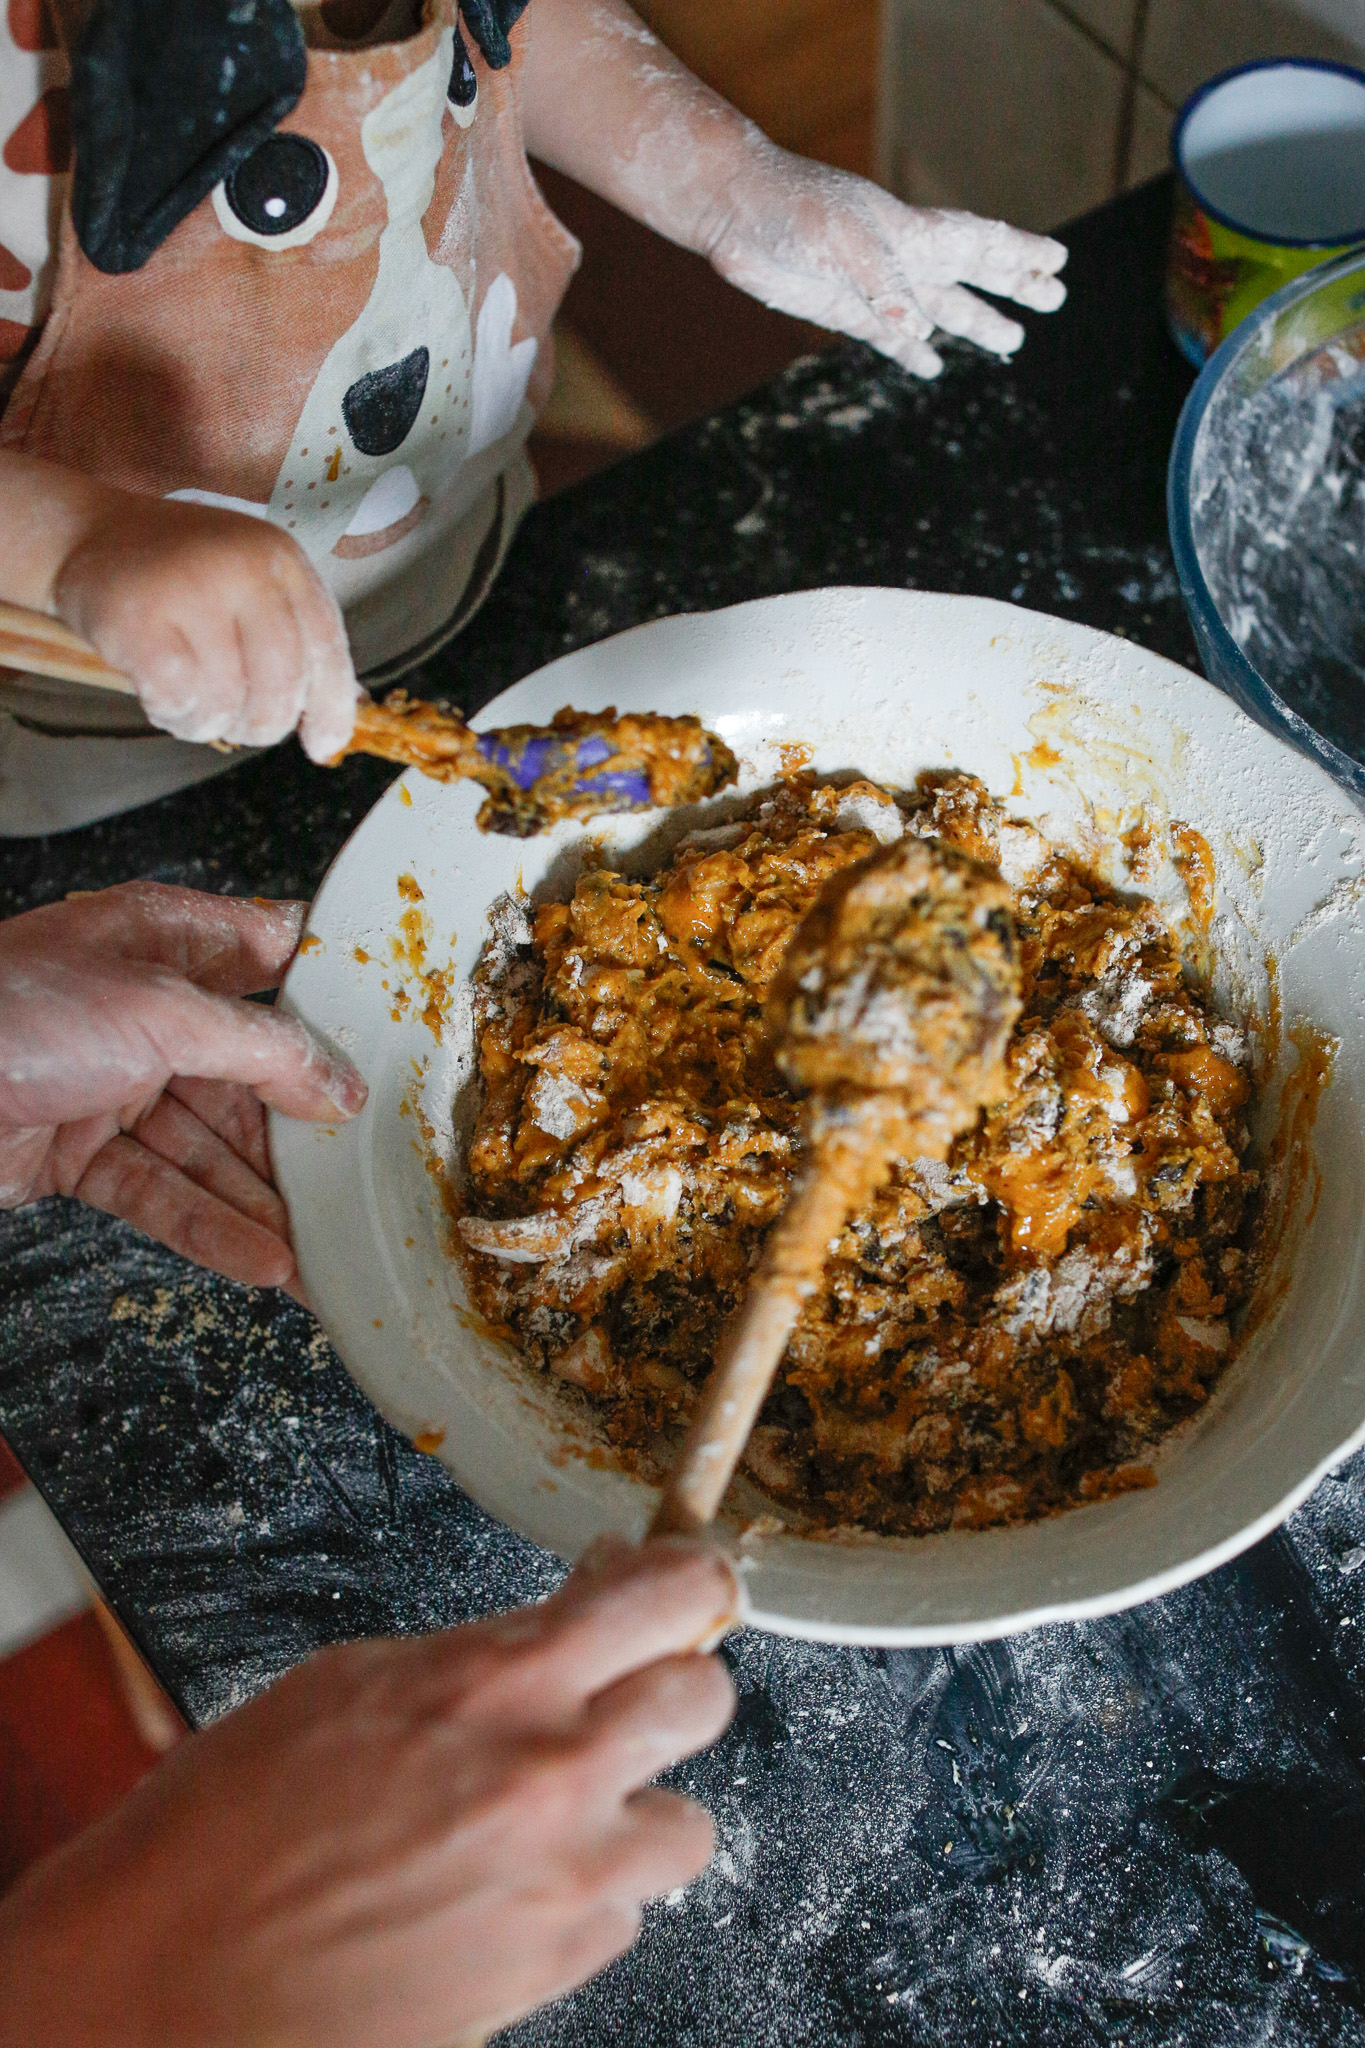
8-Gently fold the dry ingredients into the wet ingredients and mix, be mindful not to overmix. A few pockets of flour are ok and will help them bake really big.
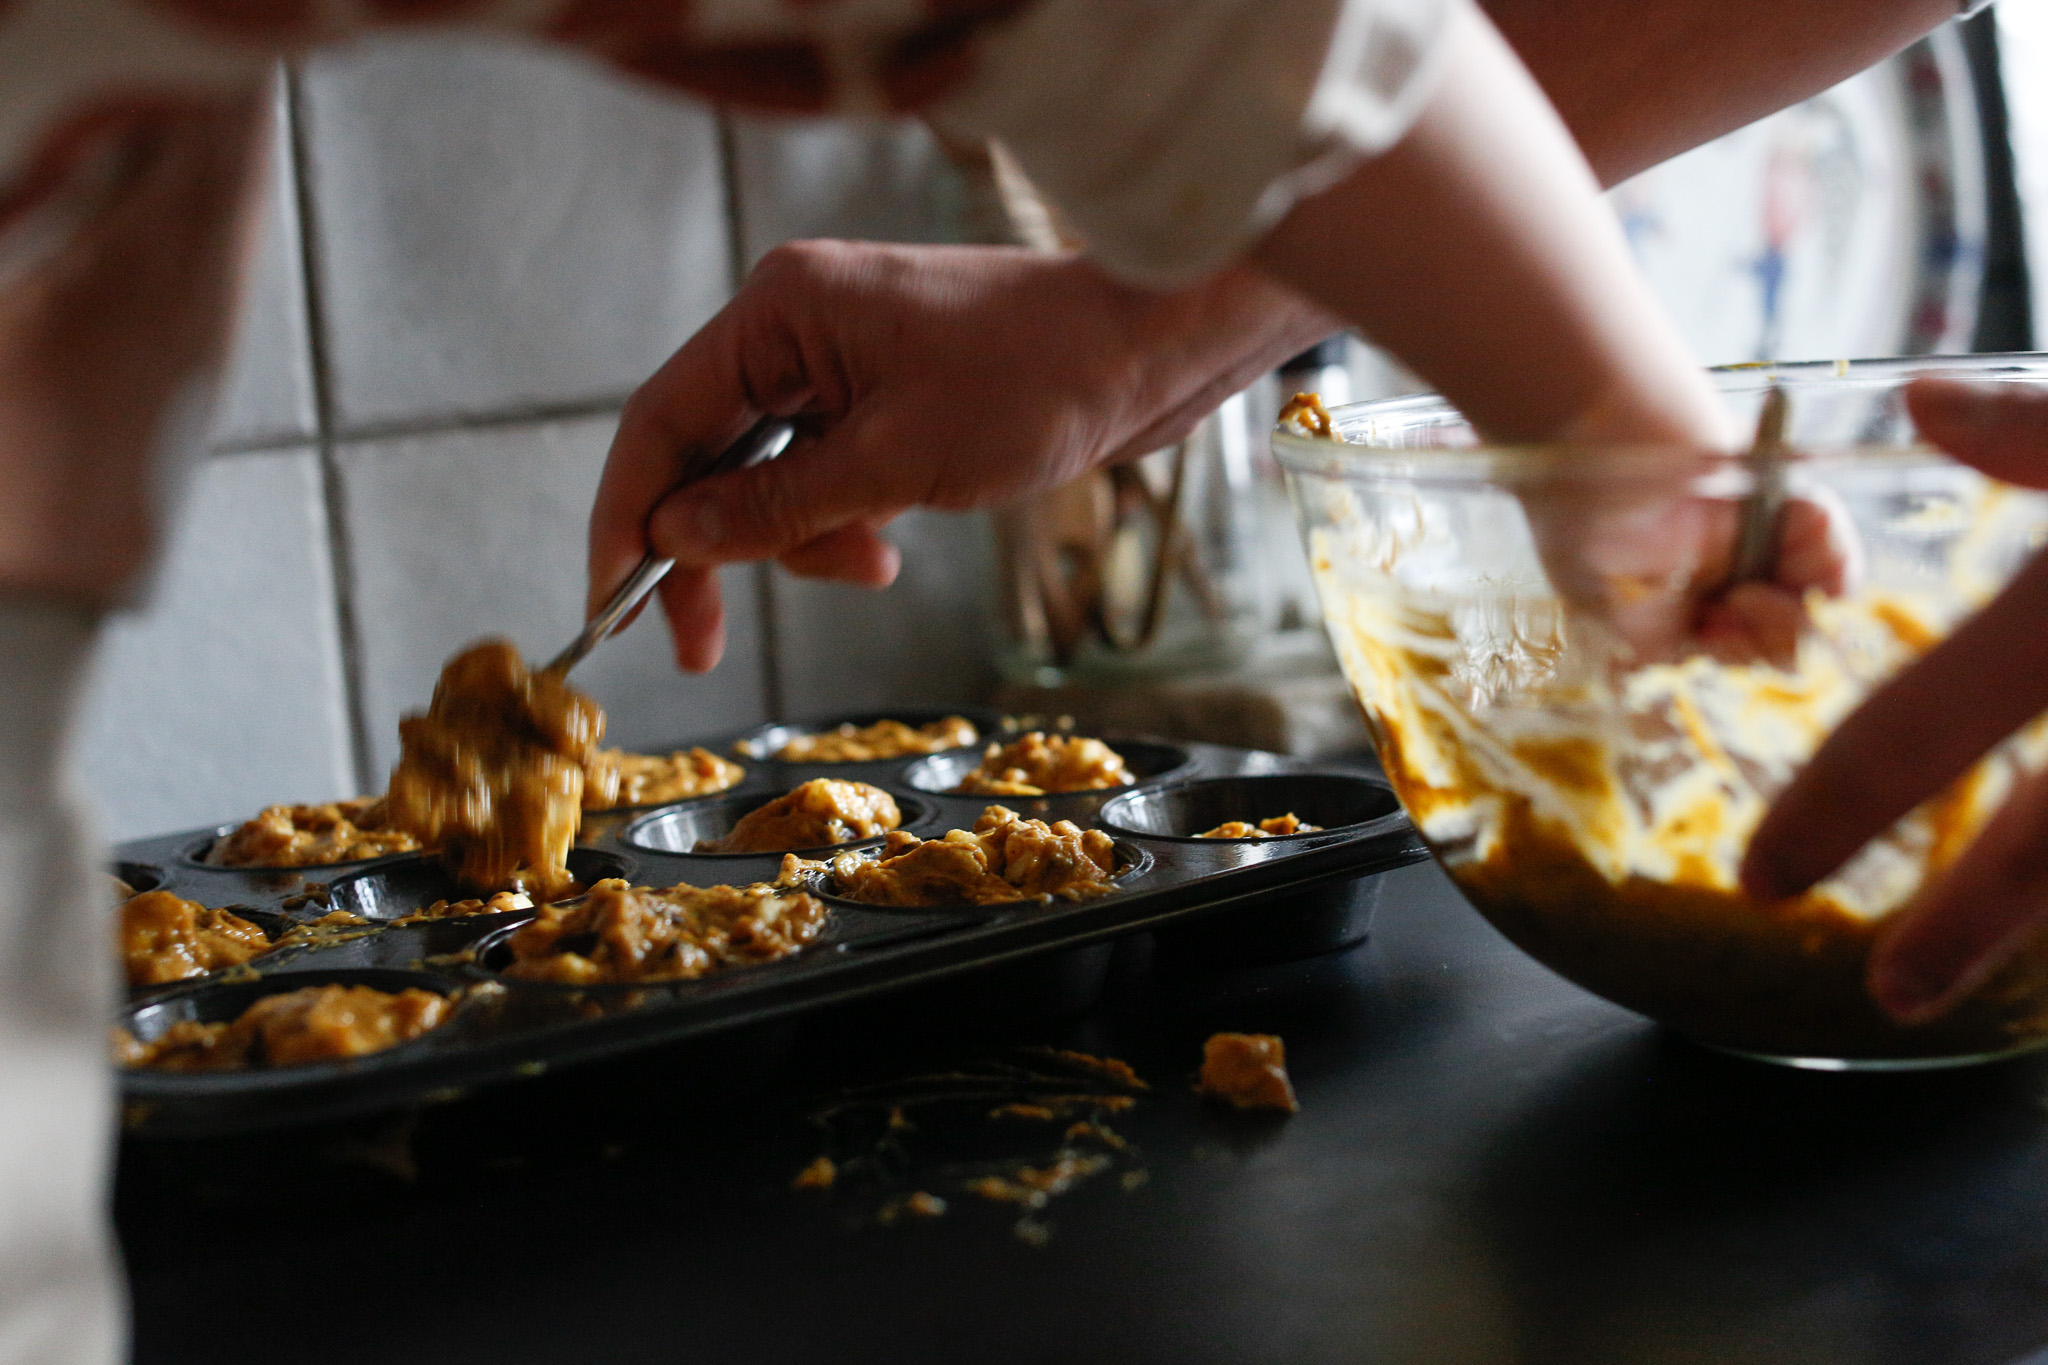
9-Fill your oiled muffin pan with the batter to the top. Be generous!
10-Bake at 220c / 425f for 10 mins. Then turn down your oven to 190c / 375f and bake for another 10-15 mins. Stick a knife in them to test, it should come out clean. Enjoy!
*this batter lends itself well to a bundt pan or a oblong cake pan
**when hot out of the oven, they are delicious with salted butter
***for Aimee France’s original bangin’ recipe, click here. I have adjusted this recipe to fit my daughter’s palette.
****if you are new in your kitchen journey with your kiddo I always recommend setting yourself up the best you can. I have found it very useful to eliminate my phone to reference the recipe and write out each of the wet and dry ingredients on post-it notes that I stick on the cupboard. This way I have all their quantities at eye level, hands free which allows me to be present with my daughter.
Step 1
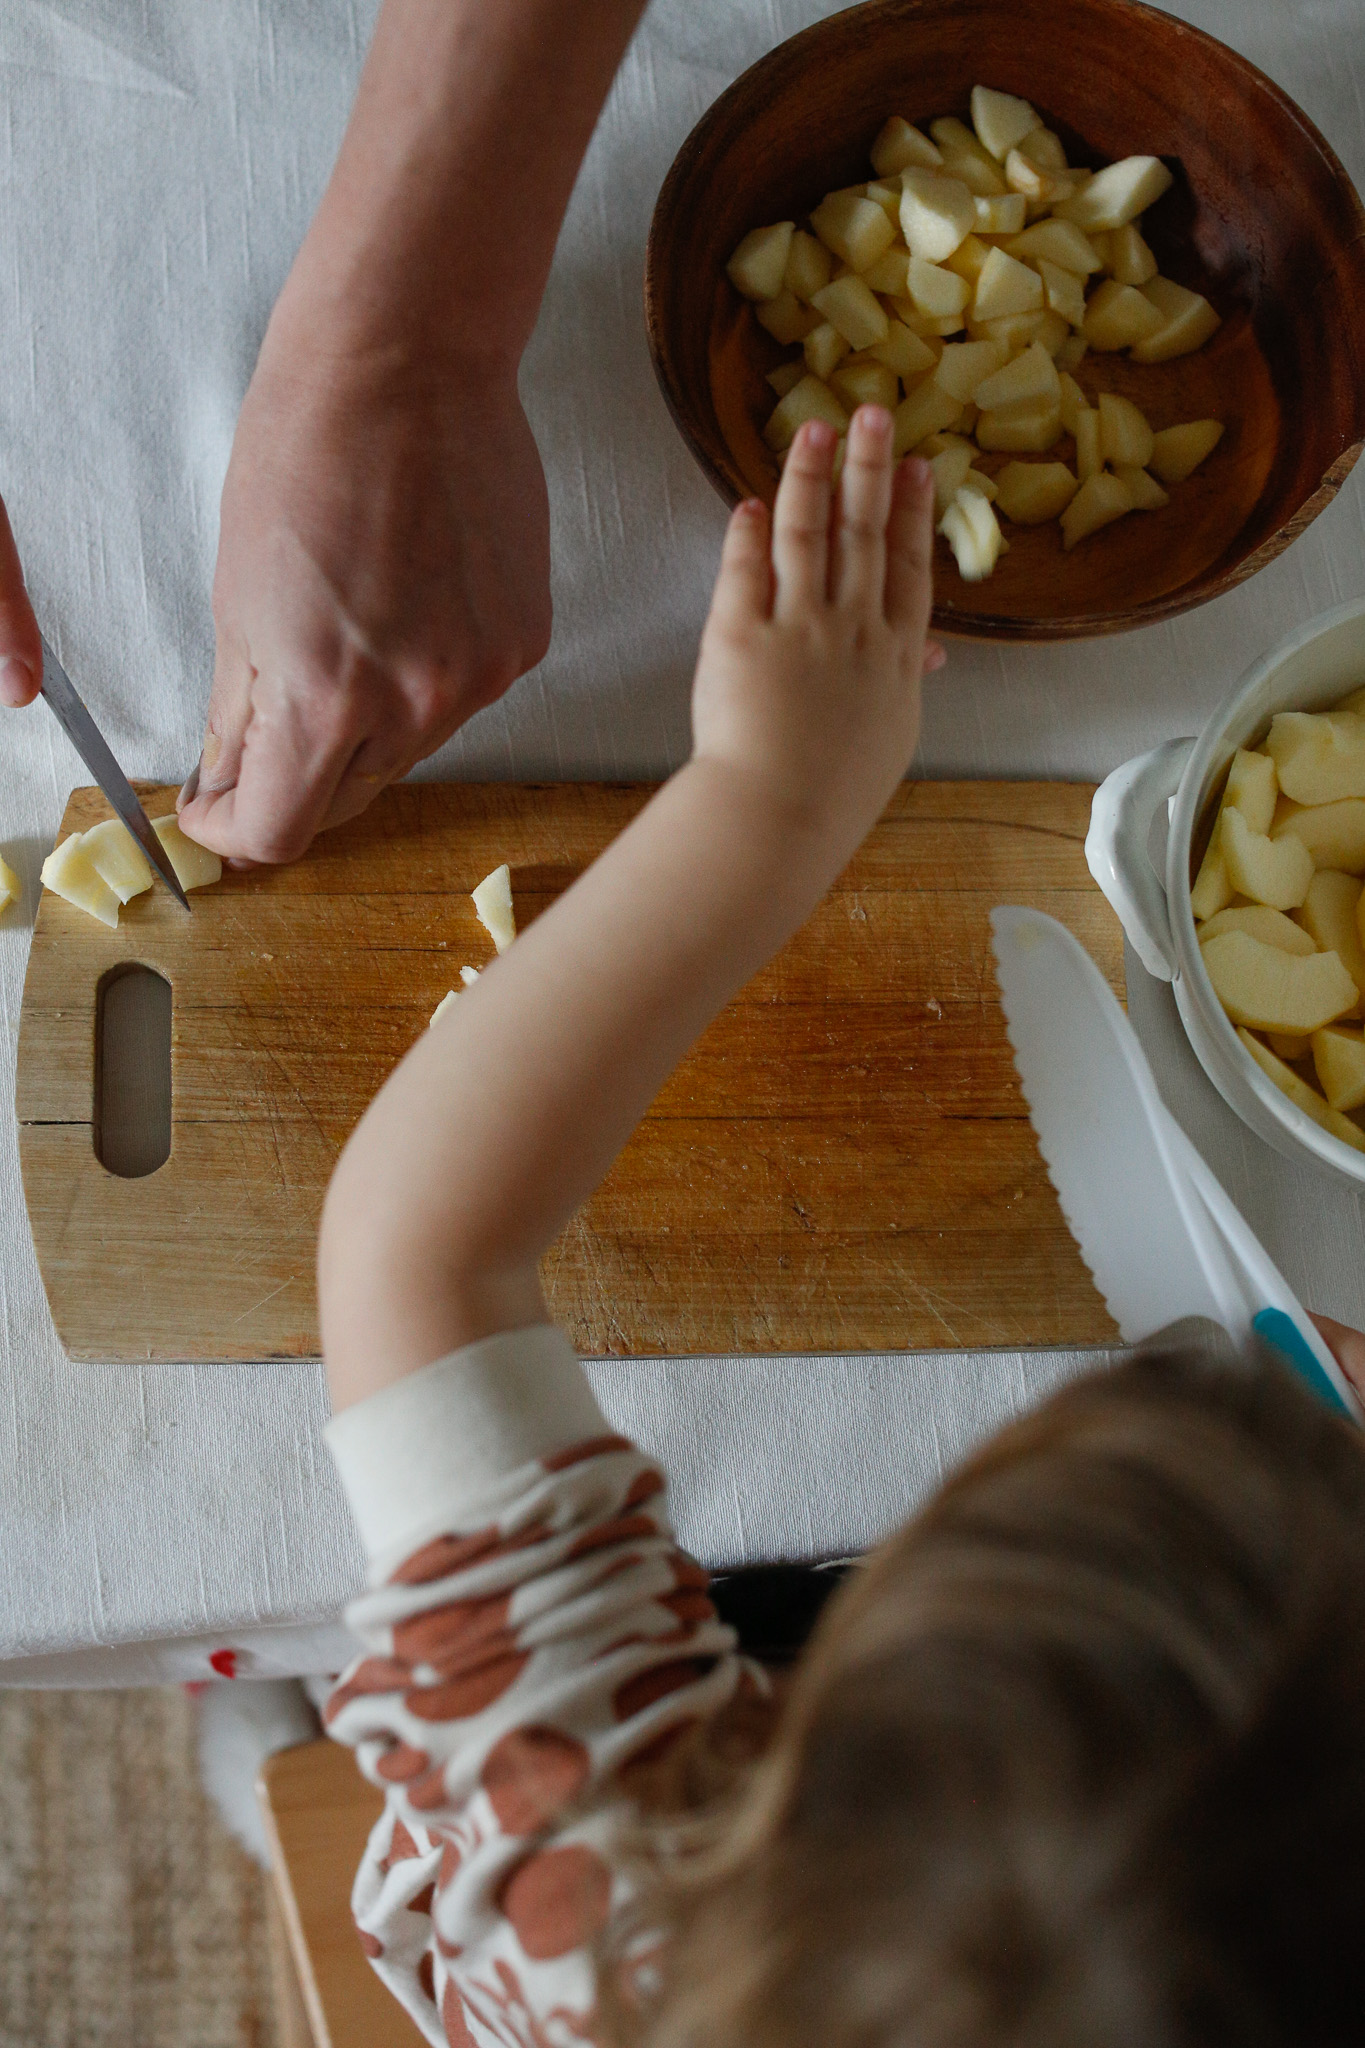
If your kiddo doesn't want to use a knife yet, they can transfer your cut pieces into the bowl as you cut
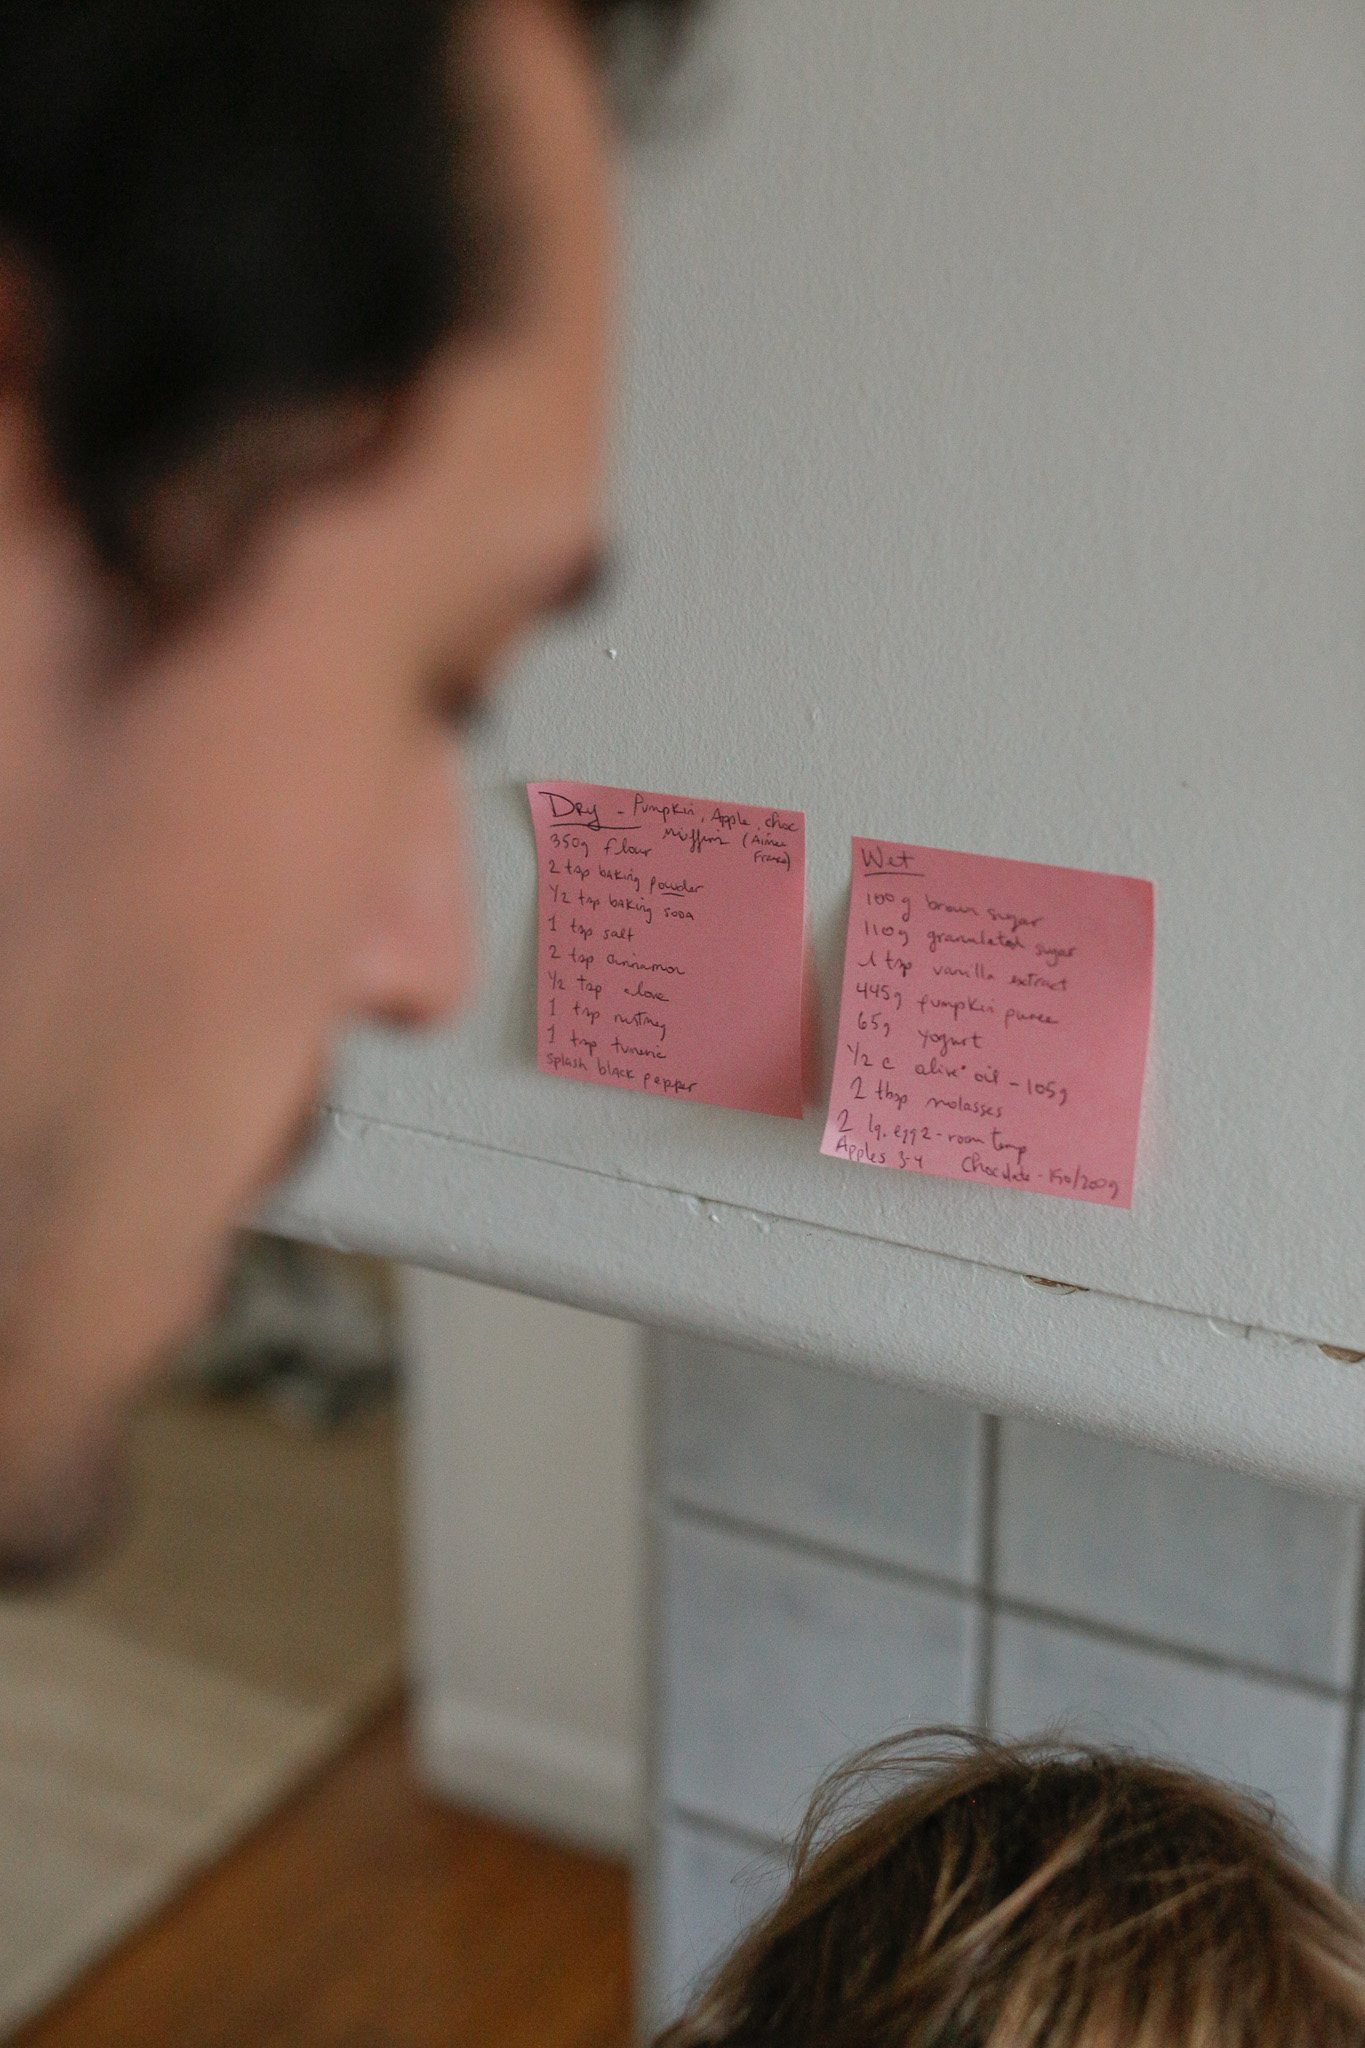
This is key for success when measuring out ingredients with your little one. It takes a few minutes to write out while you review the recipe and will make all the difference
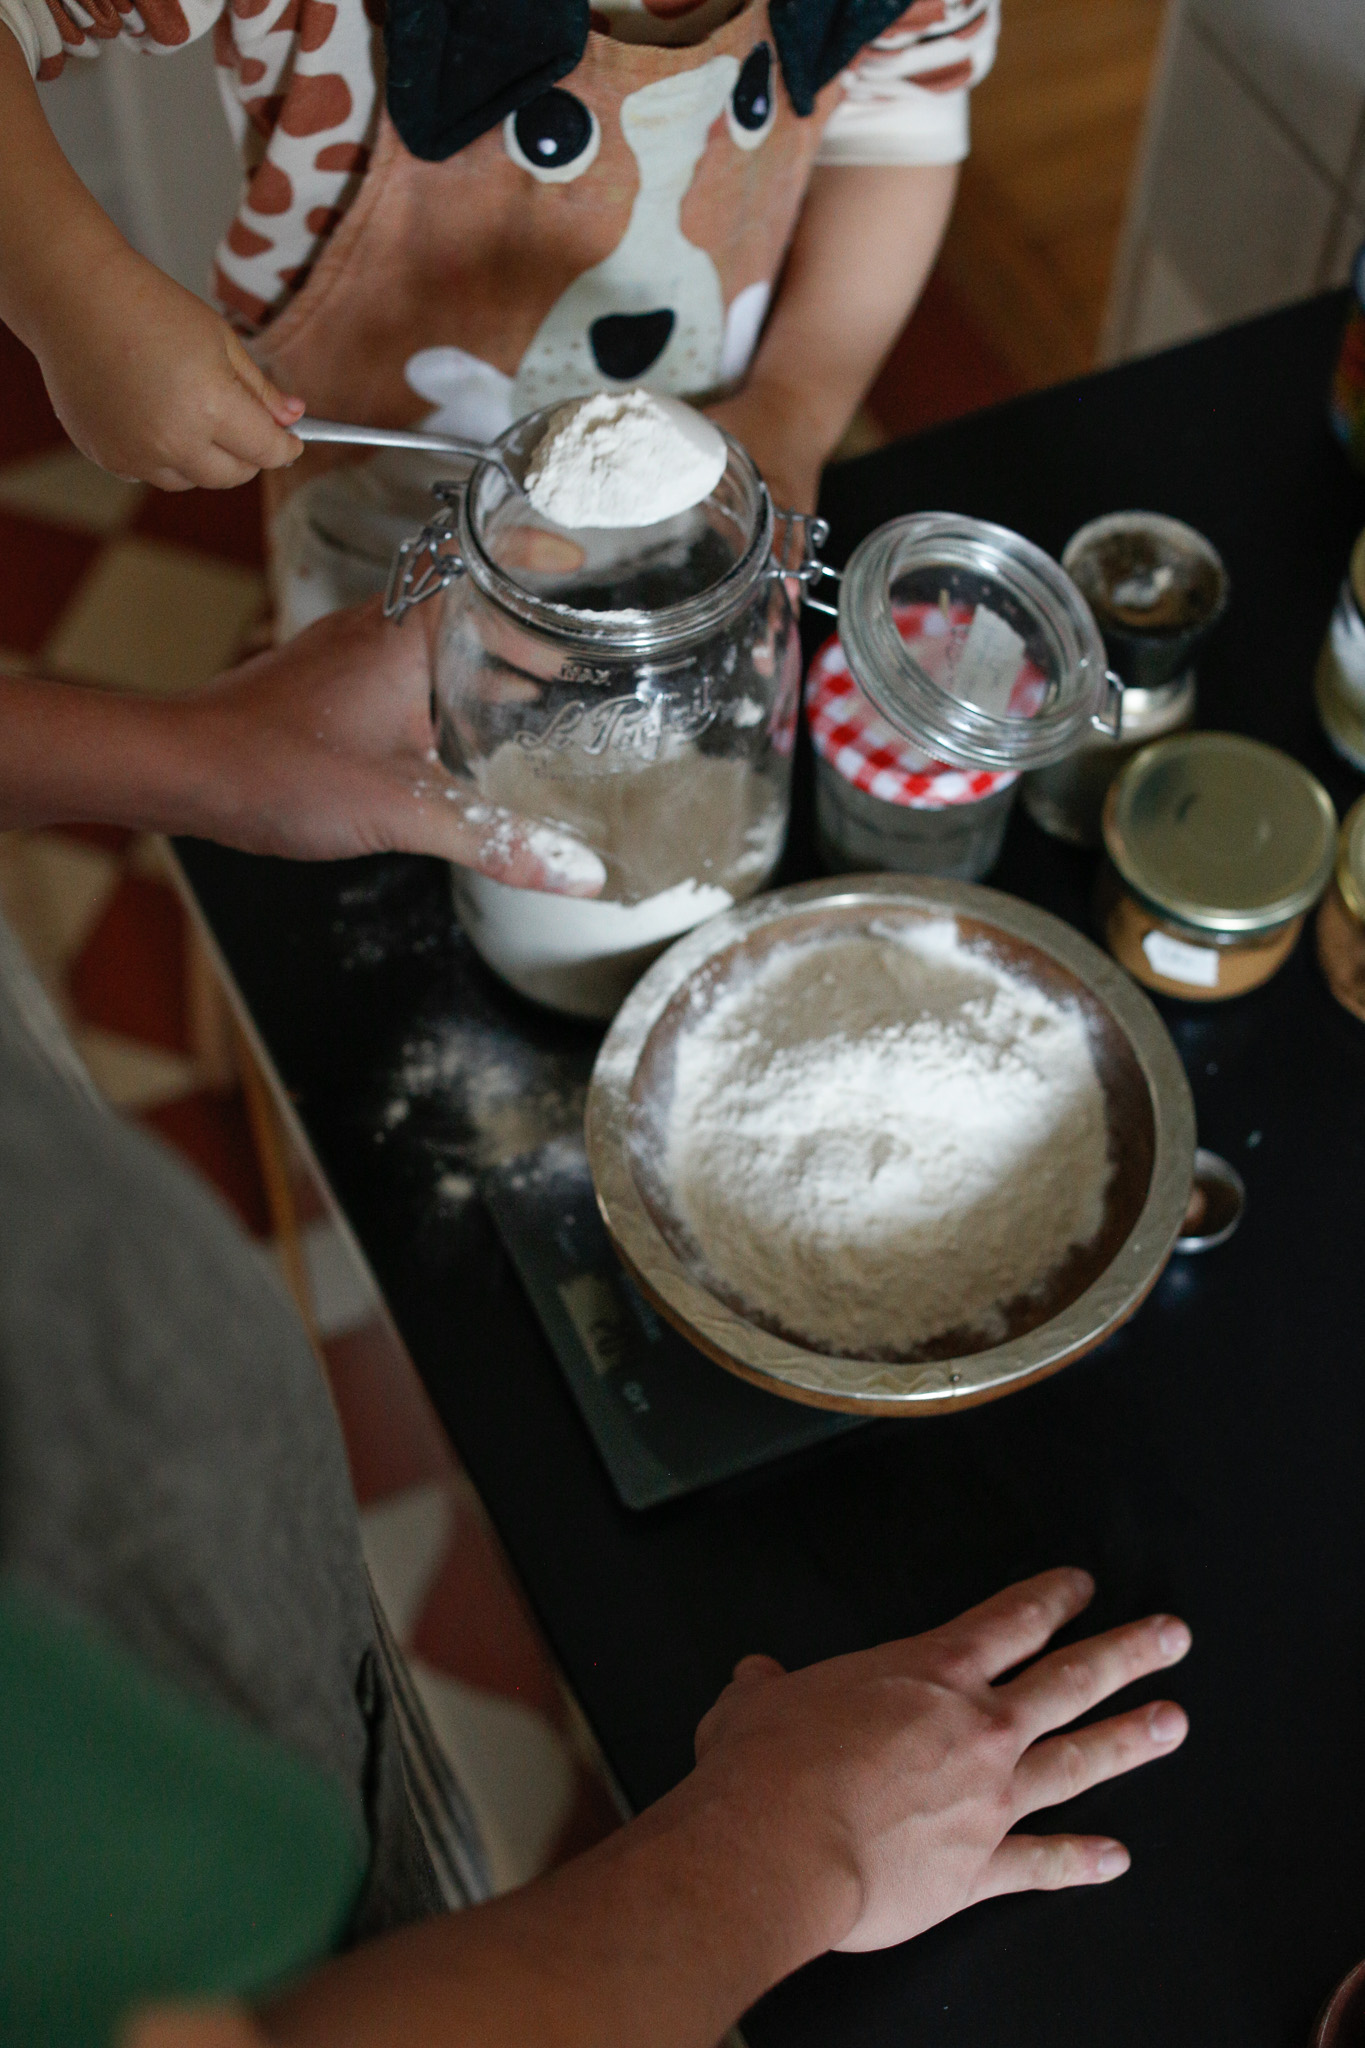
At home we primarily use a baking scale to measure and I find this very simple. Here she has to practice balancing the spoon too
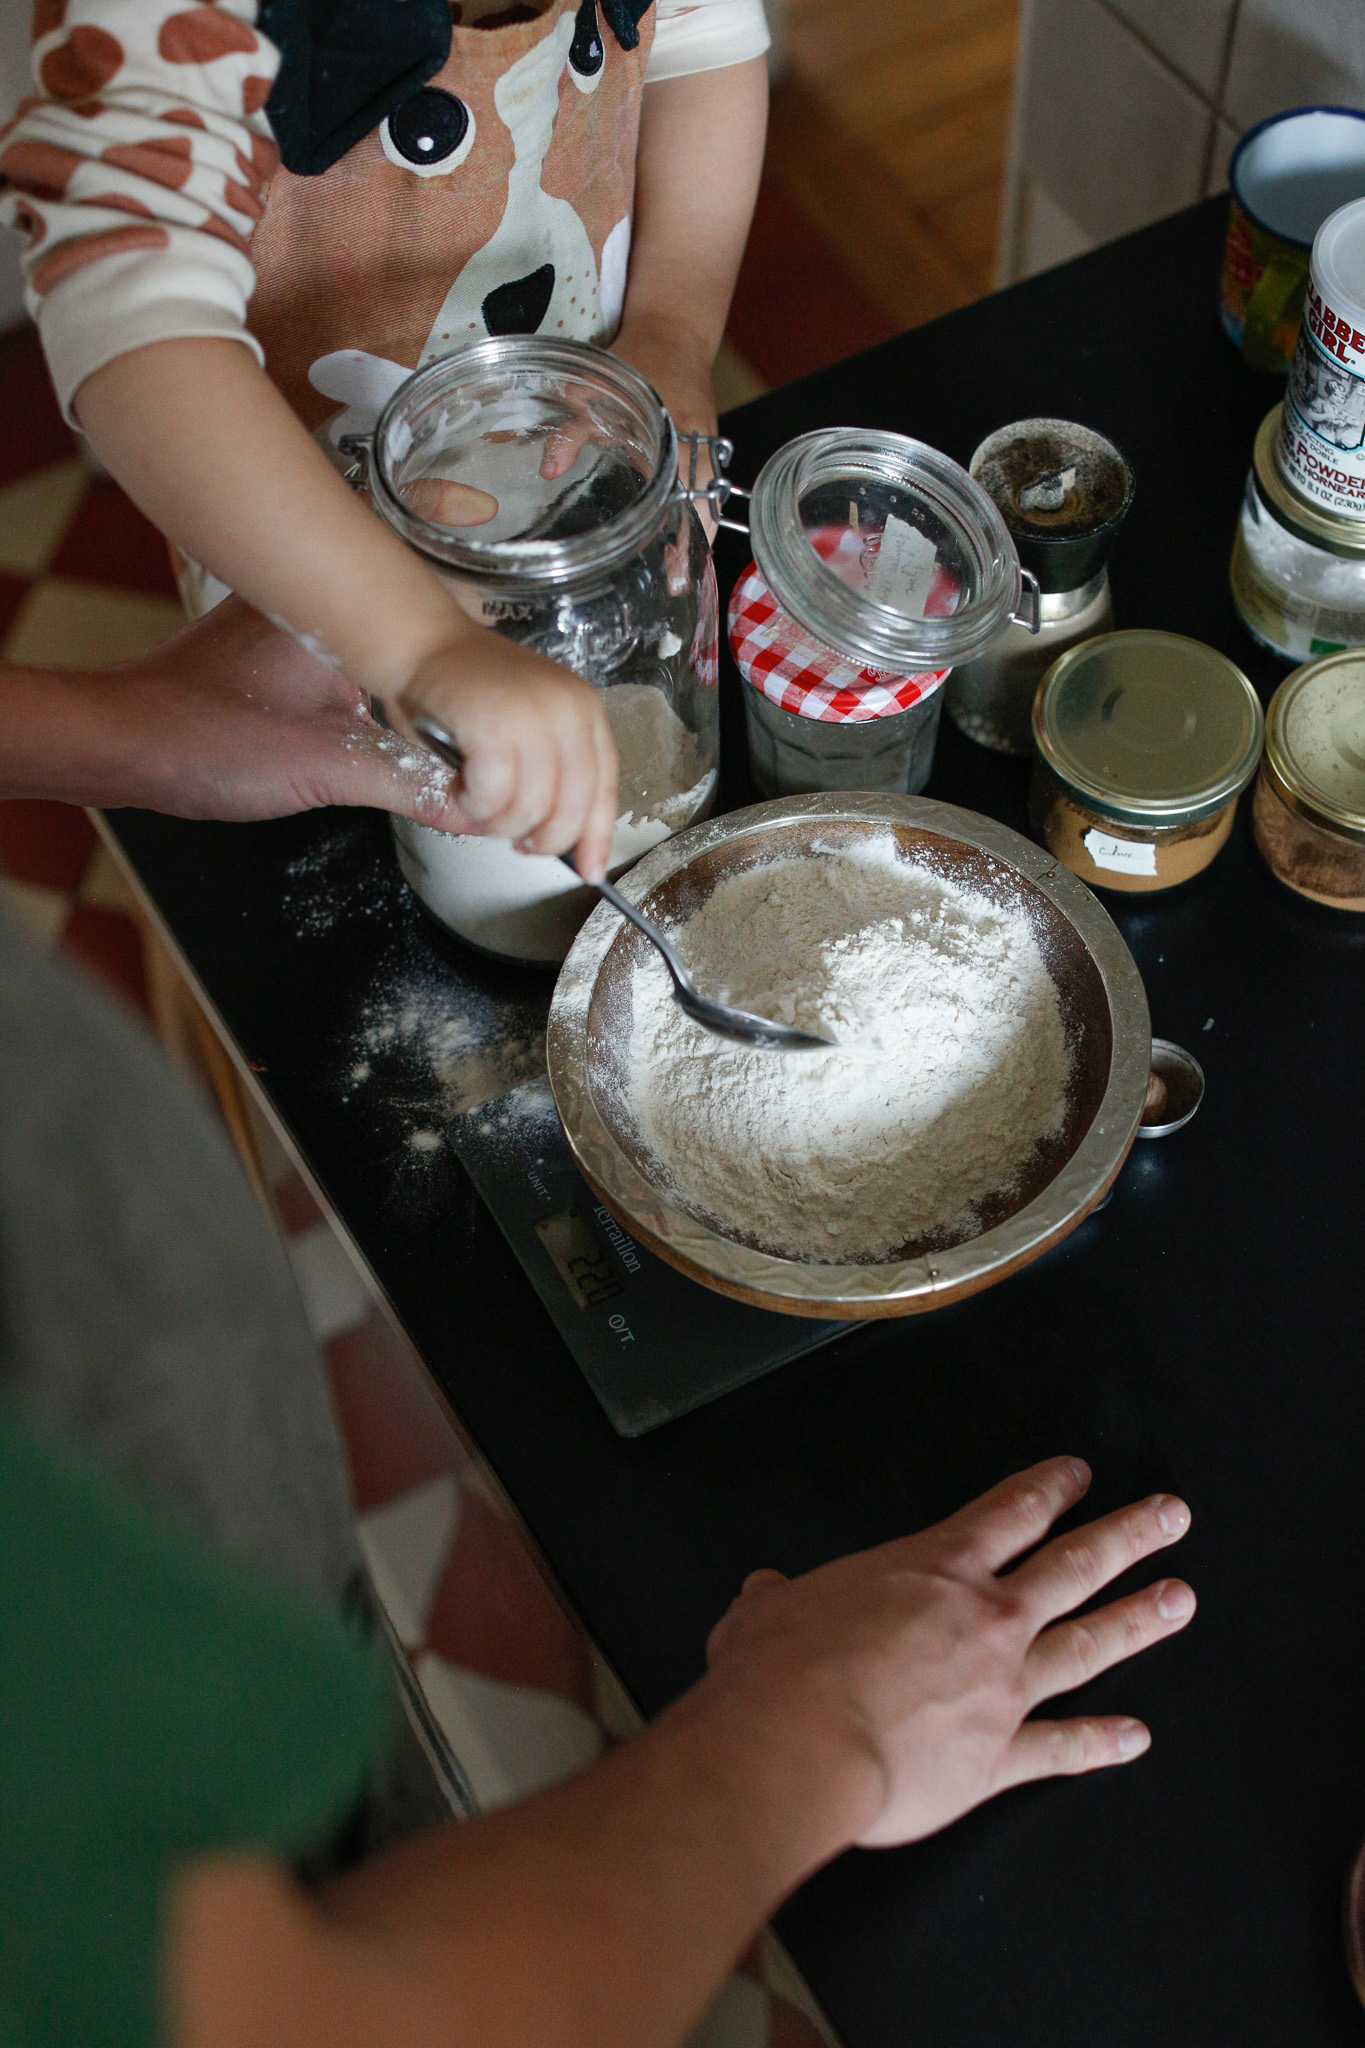
At home we primarily use a baking scale to measure and I find this very simple
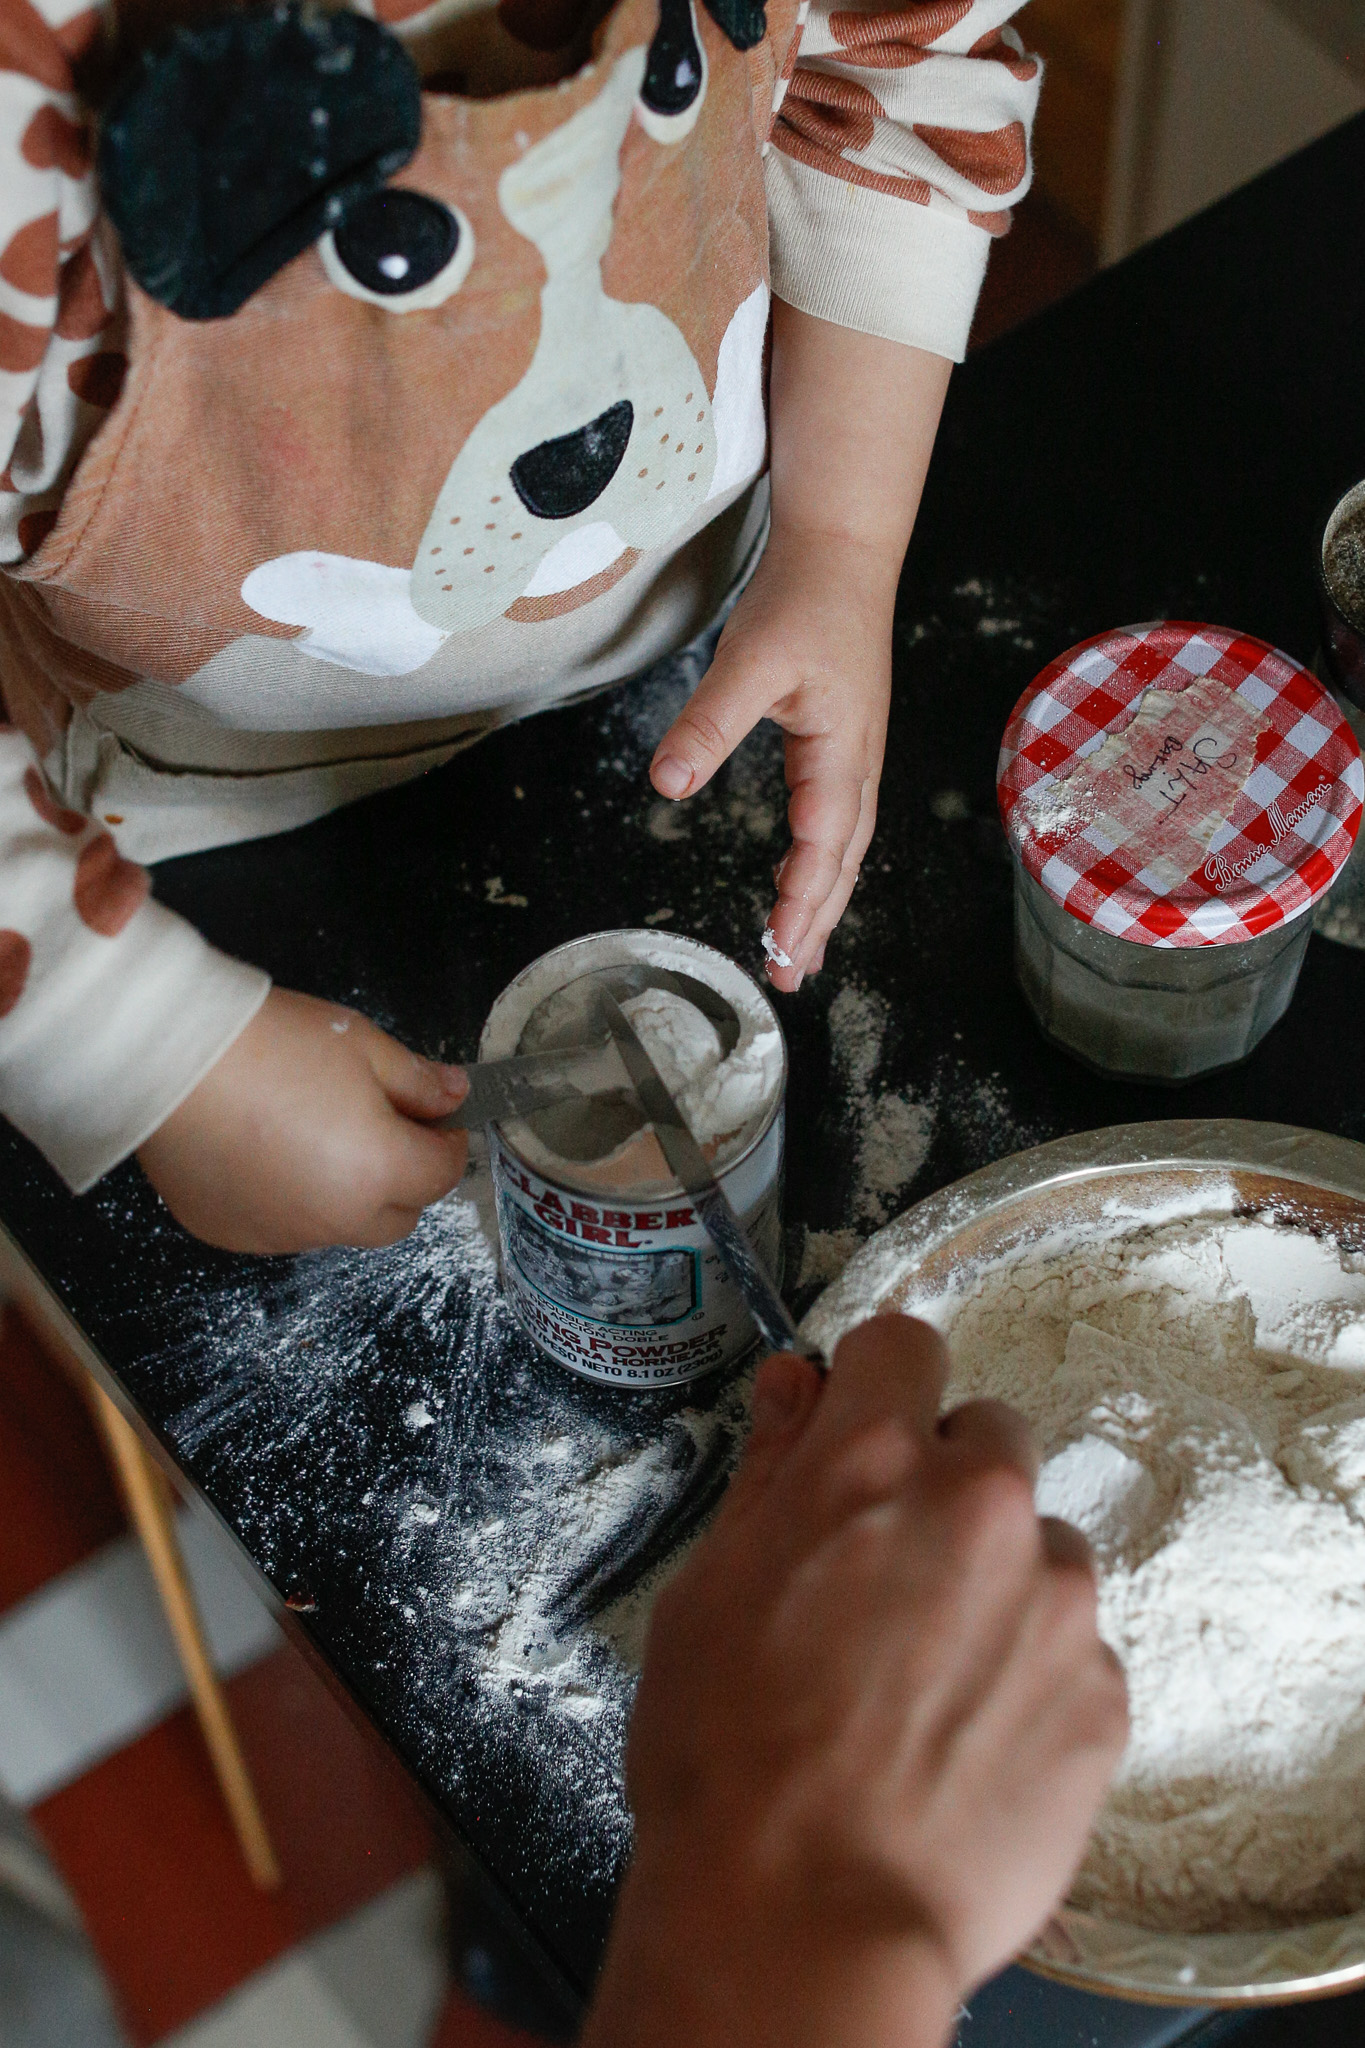
Her daddy scrapes off the excess baking powder while measuring out with teaspoons. Practicing team work that we call "together"
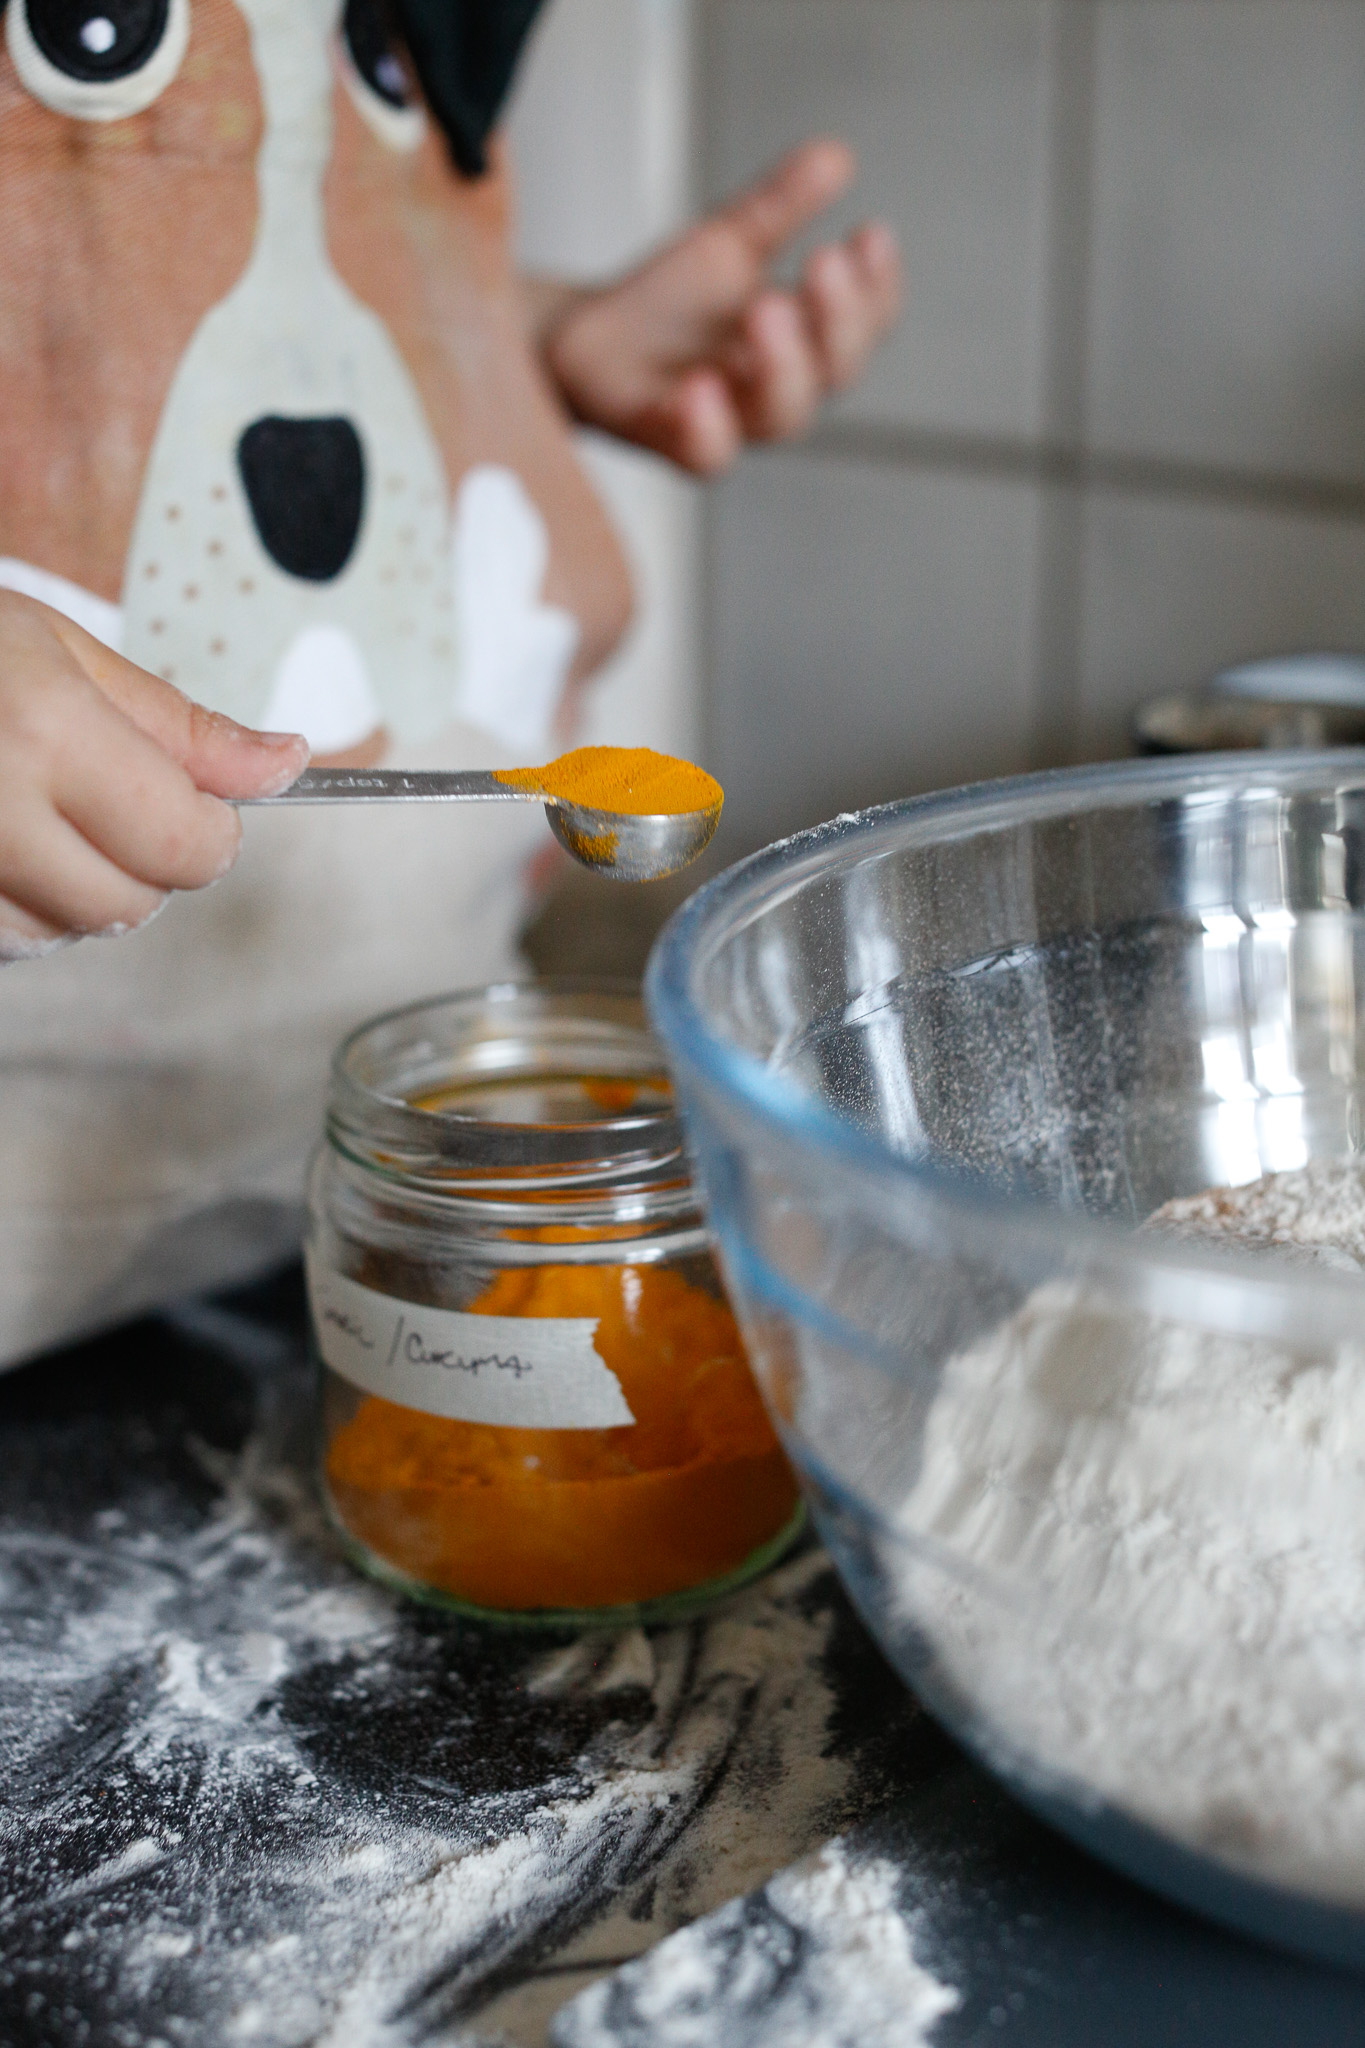
We don't mind if there is excess turmeric so her daddy gave her the freedom to let her fill it up as she sees fit (within toddler reason of course!)
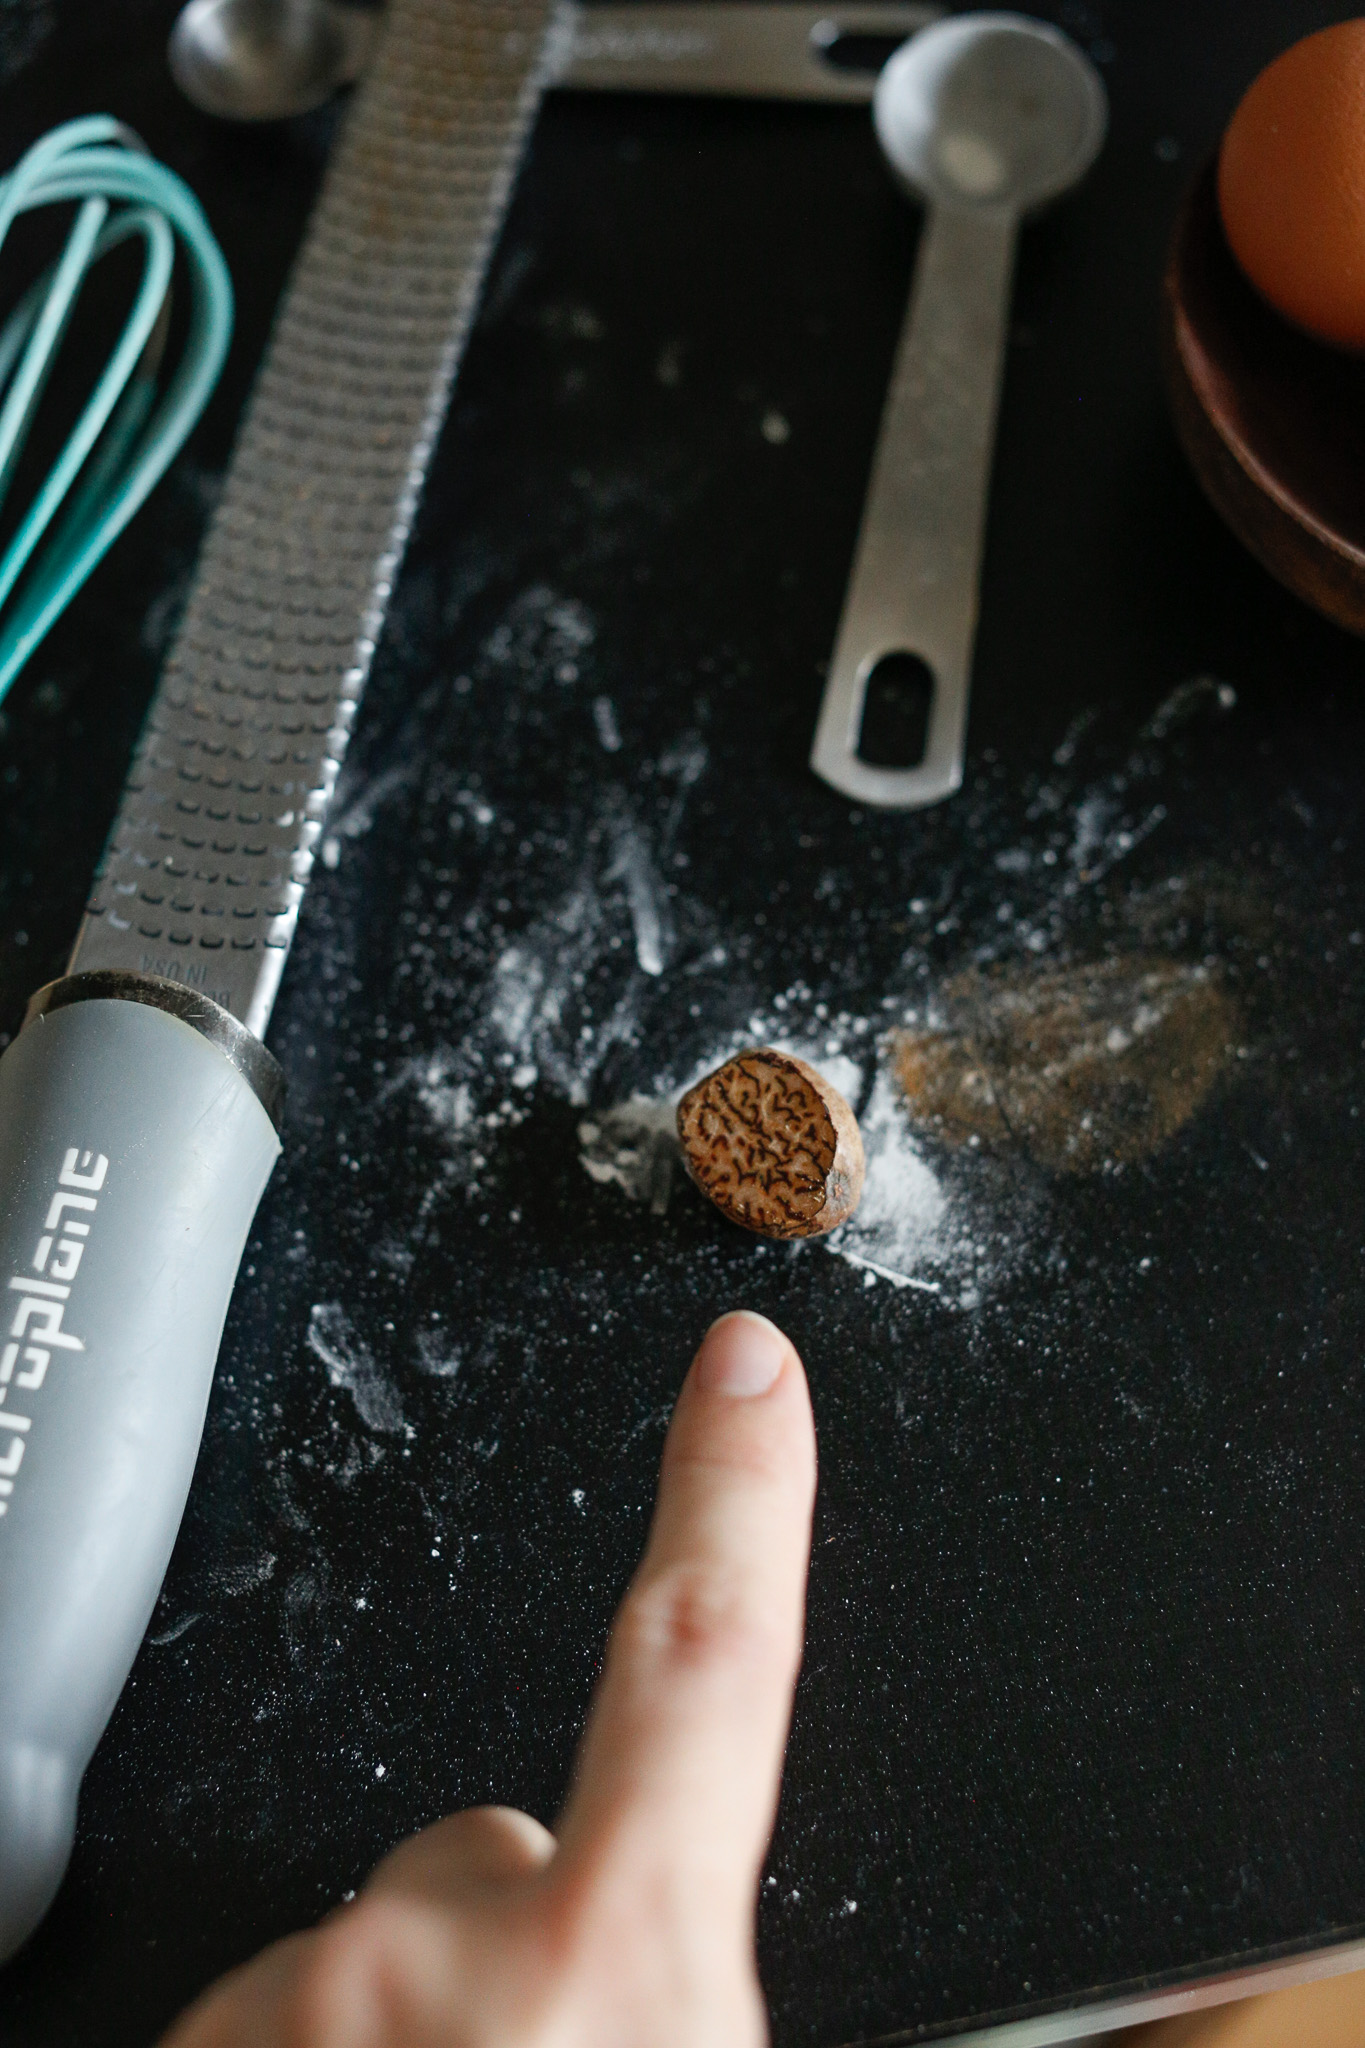
If you are Microblading fresh nutmeg, have your kiddo stir the bowl while you shave it in so that they are included but stay safe
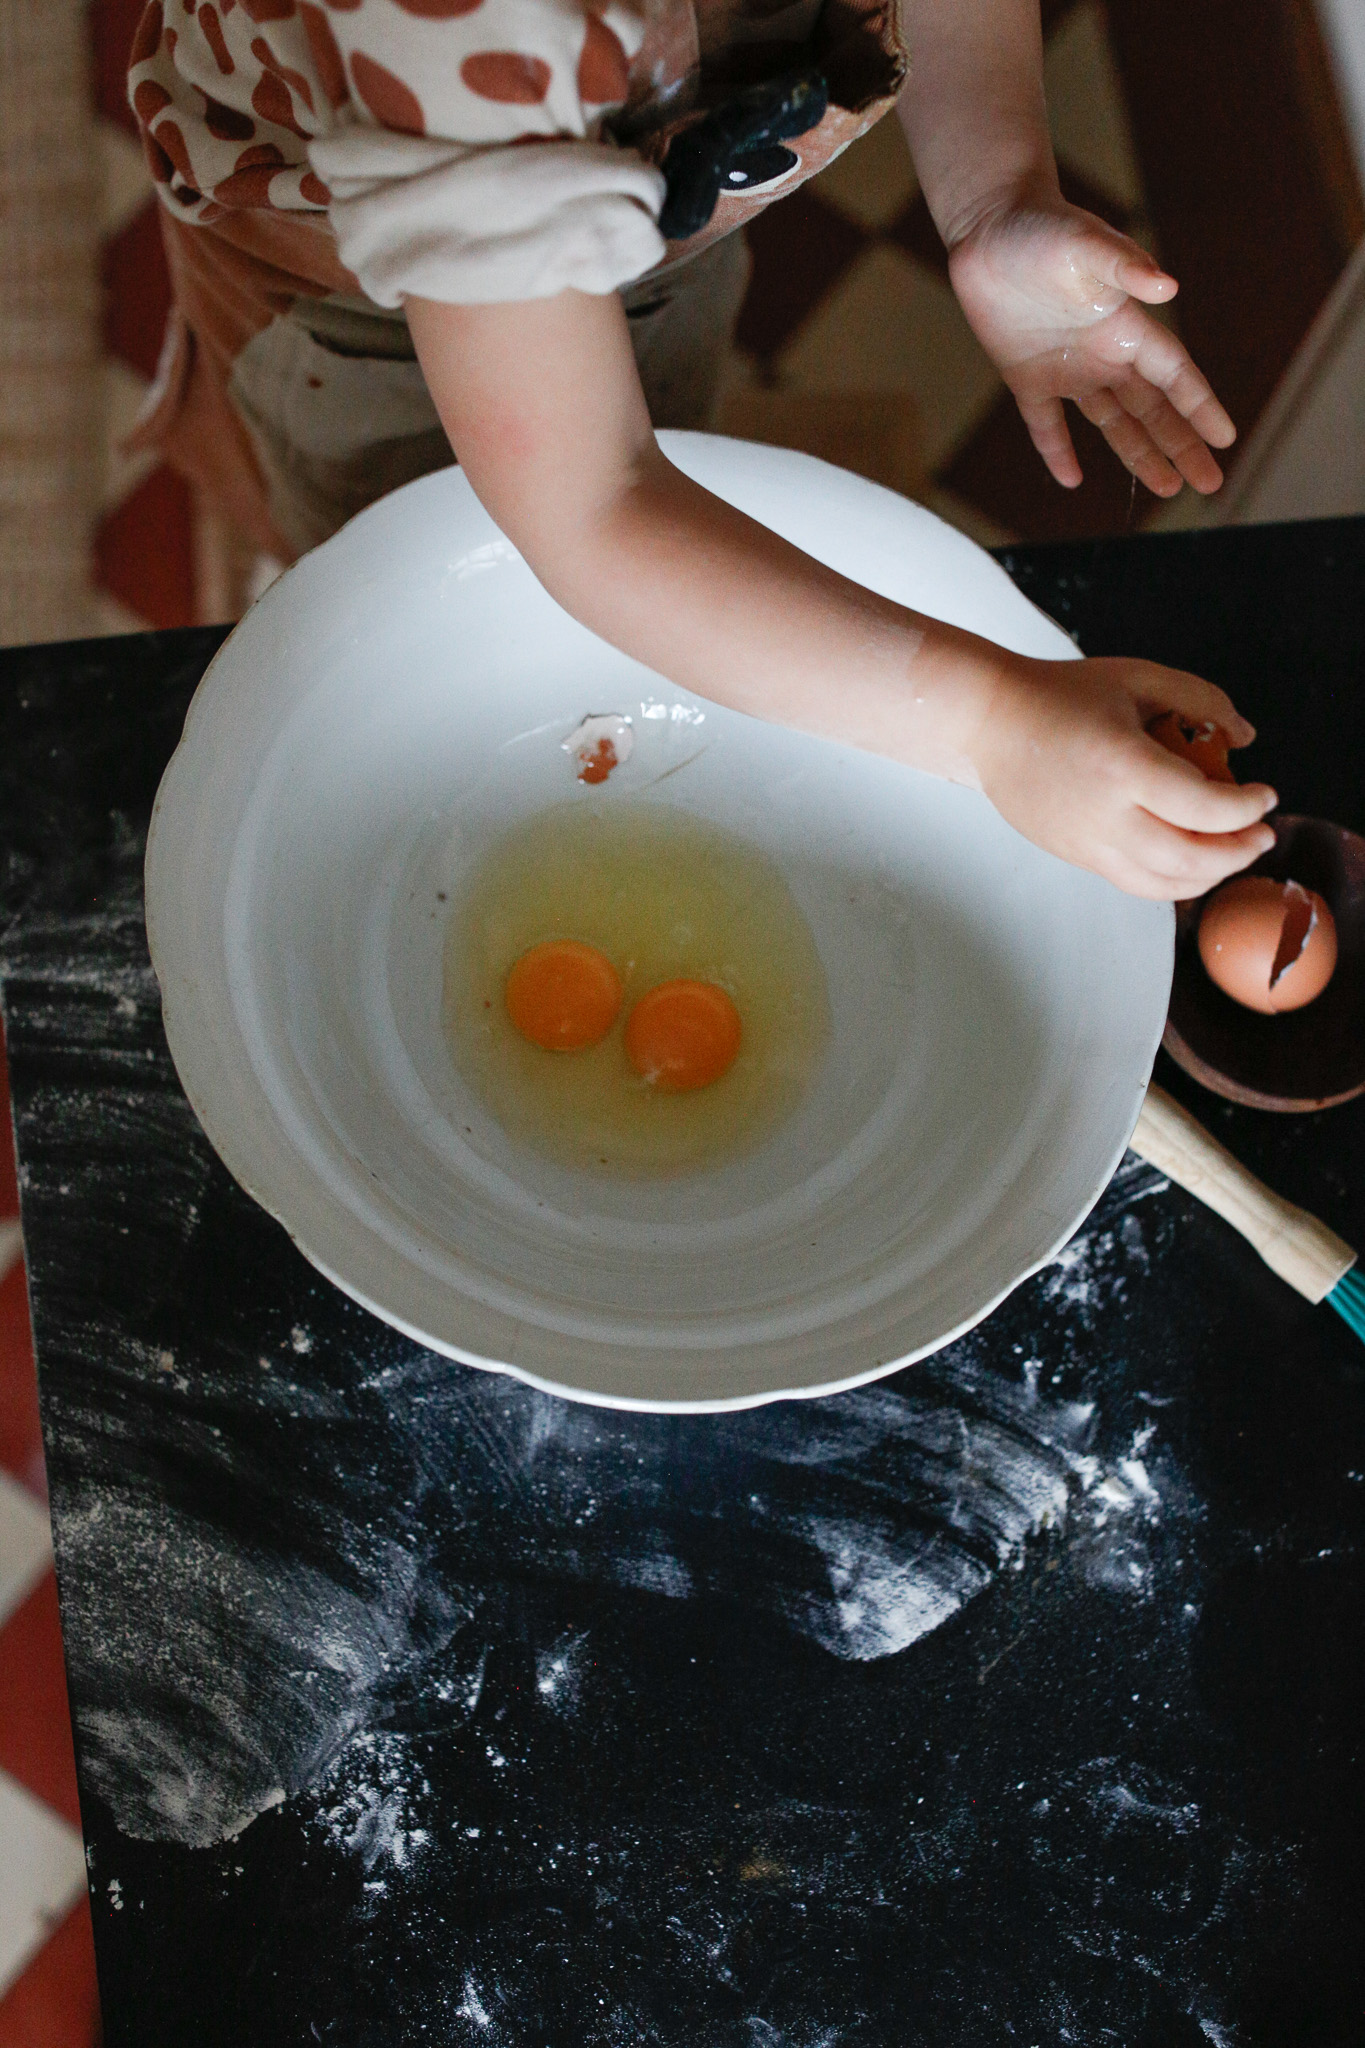
The small nuances of having your child discard the eggshells after cracking supports them in following through with a task, rather than taking the shells from them
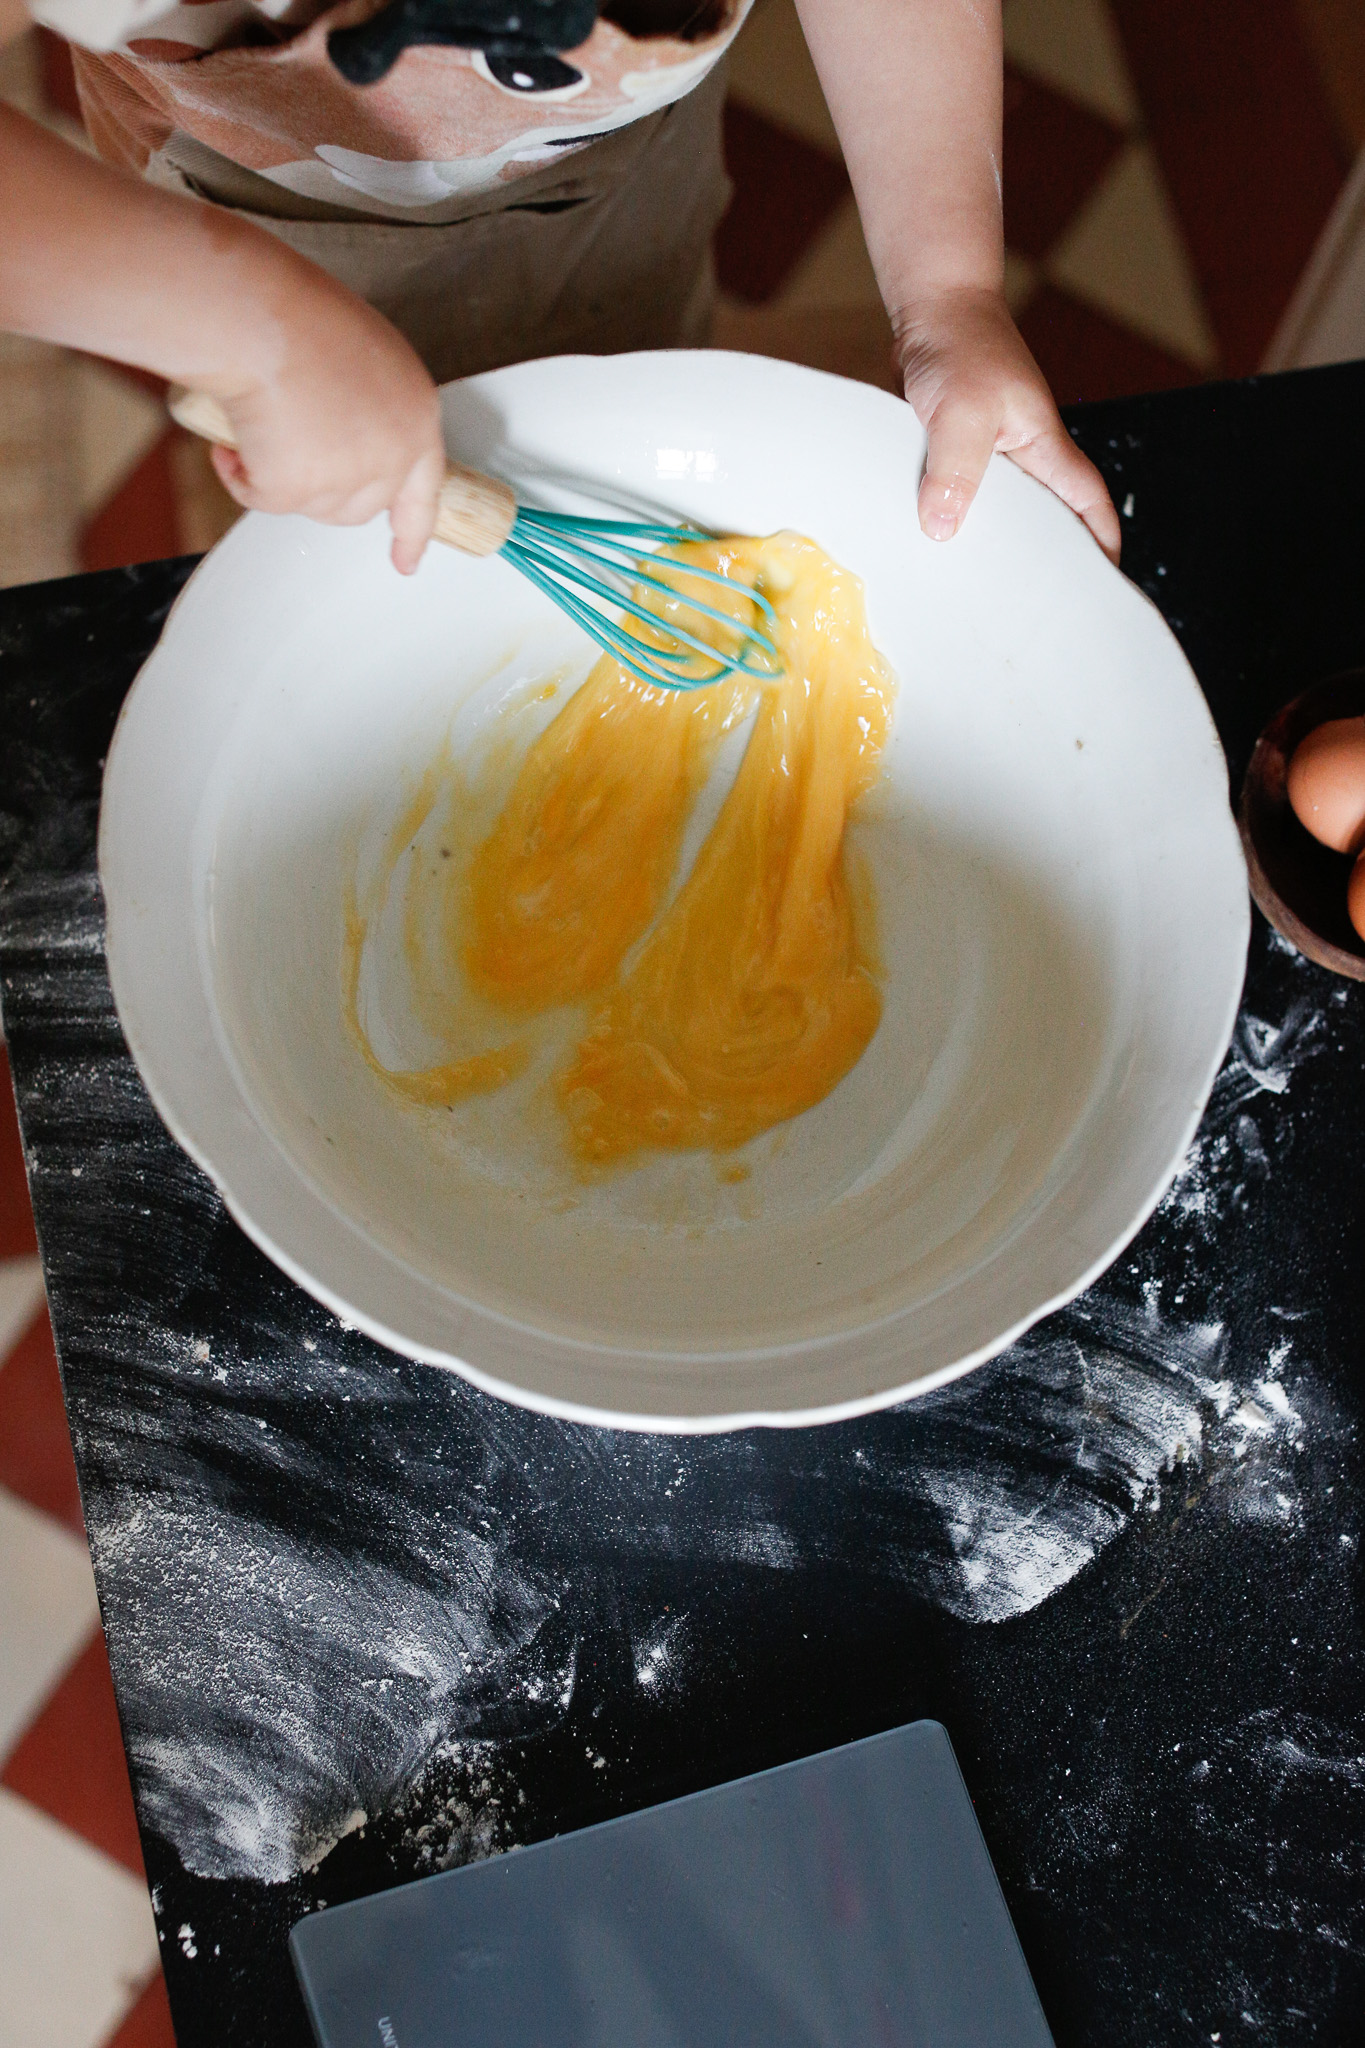
Choose a large bowl for your wet ingredients in anticipation for some experimental whisking!
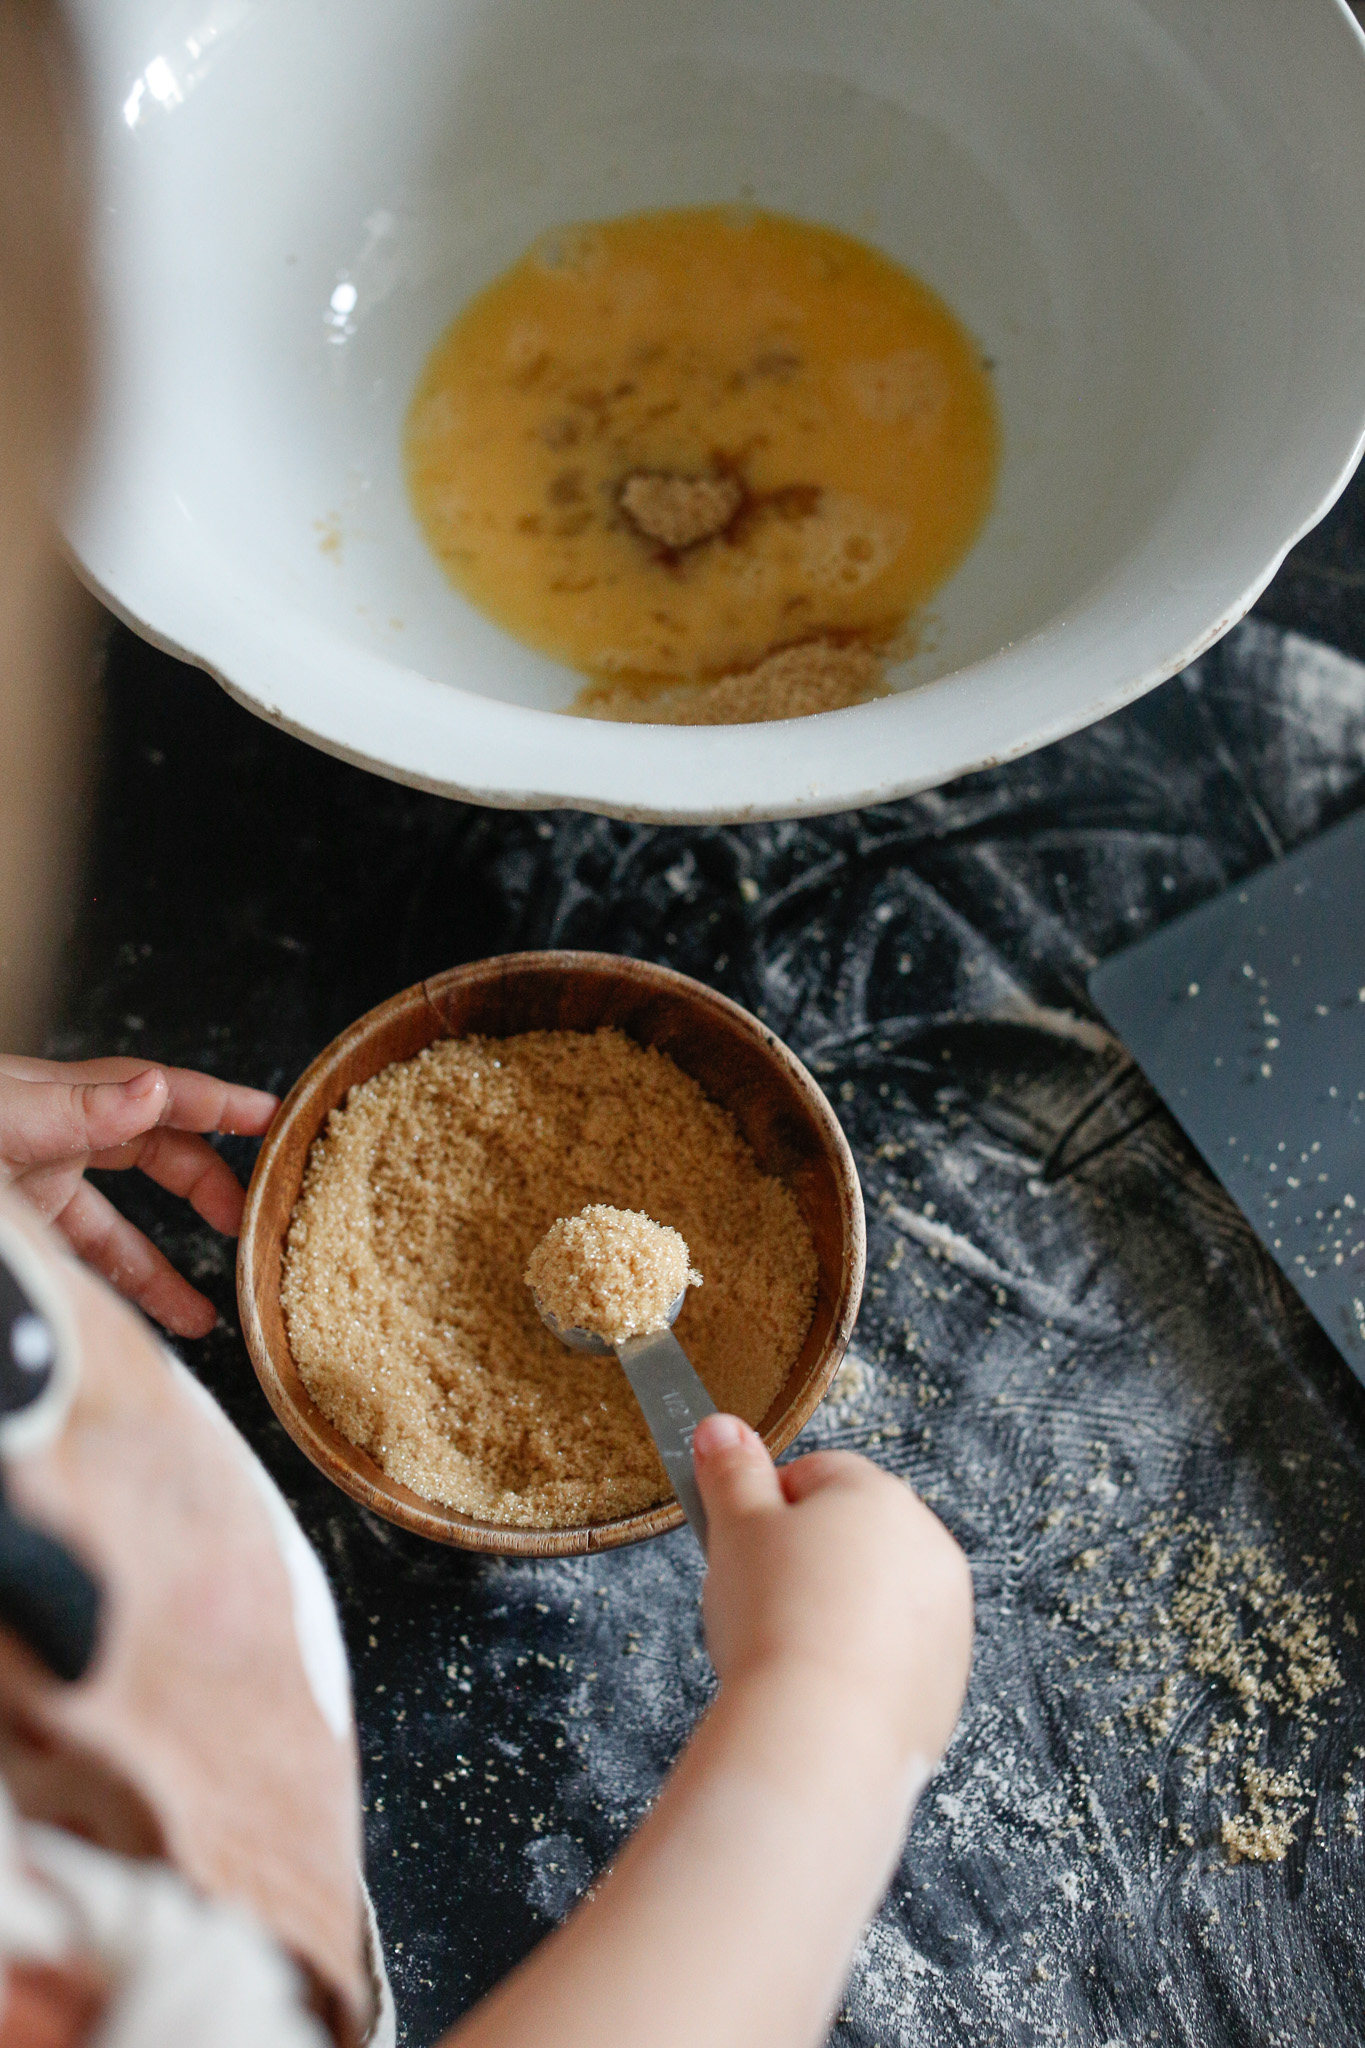
She wanted to use a tsp to transfer the brown sugar from the measuring bowl to the stirring bowl. It can be annoying but her daddy supported her to do it. It’s her experience!
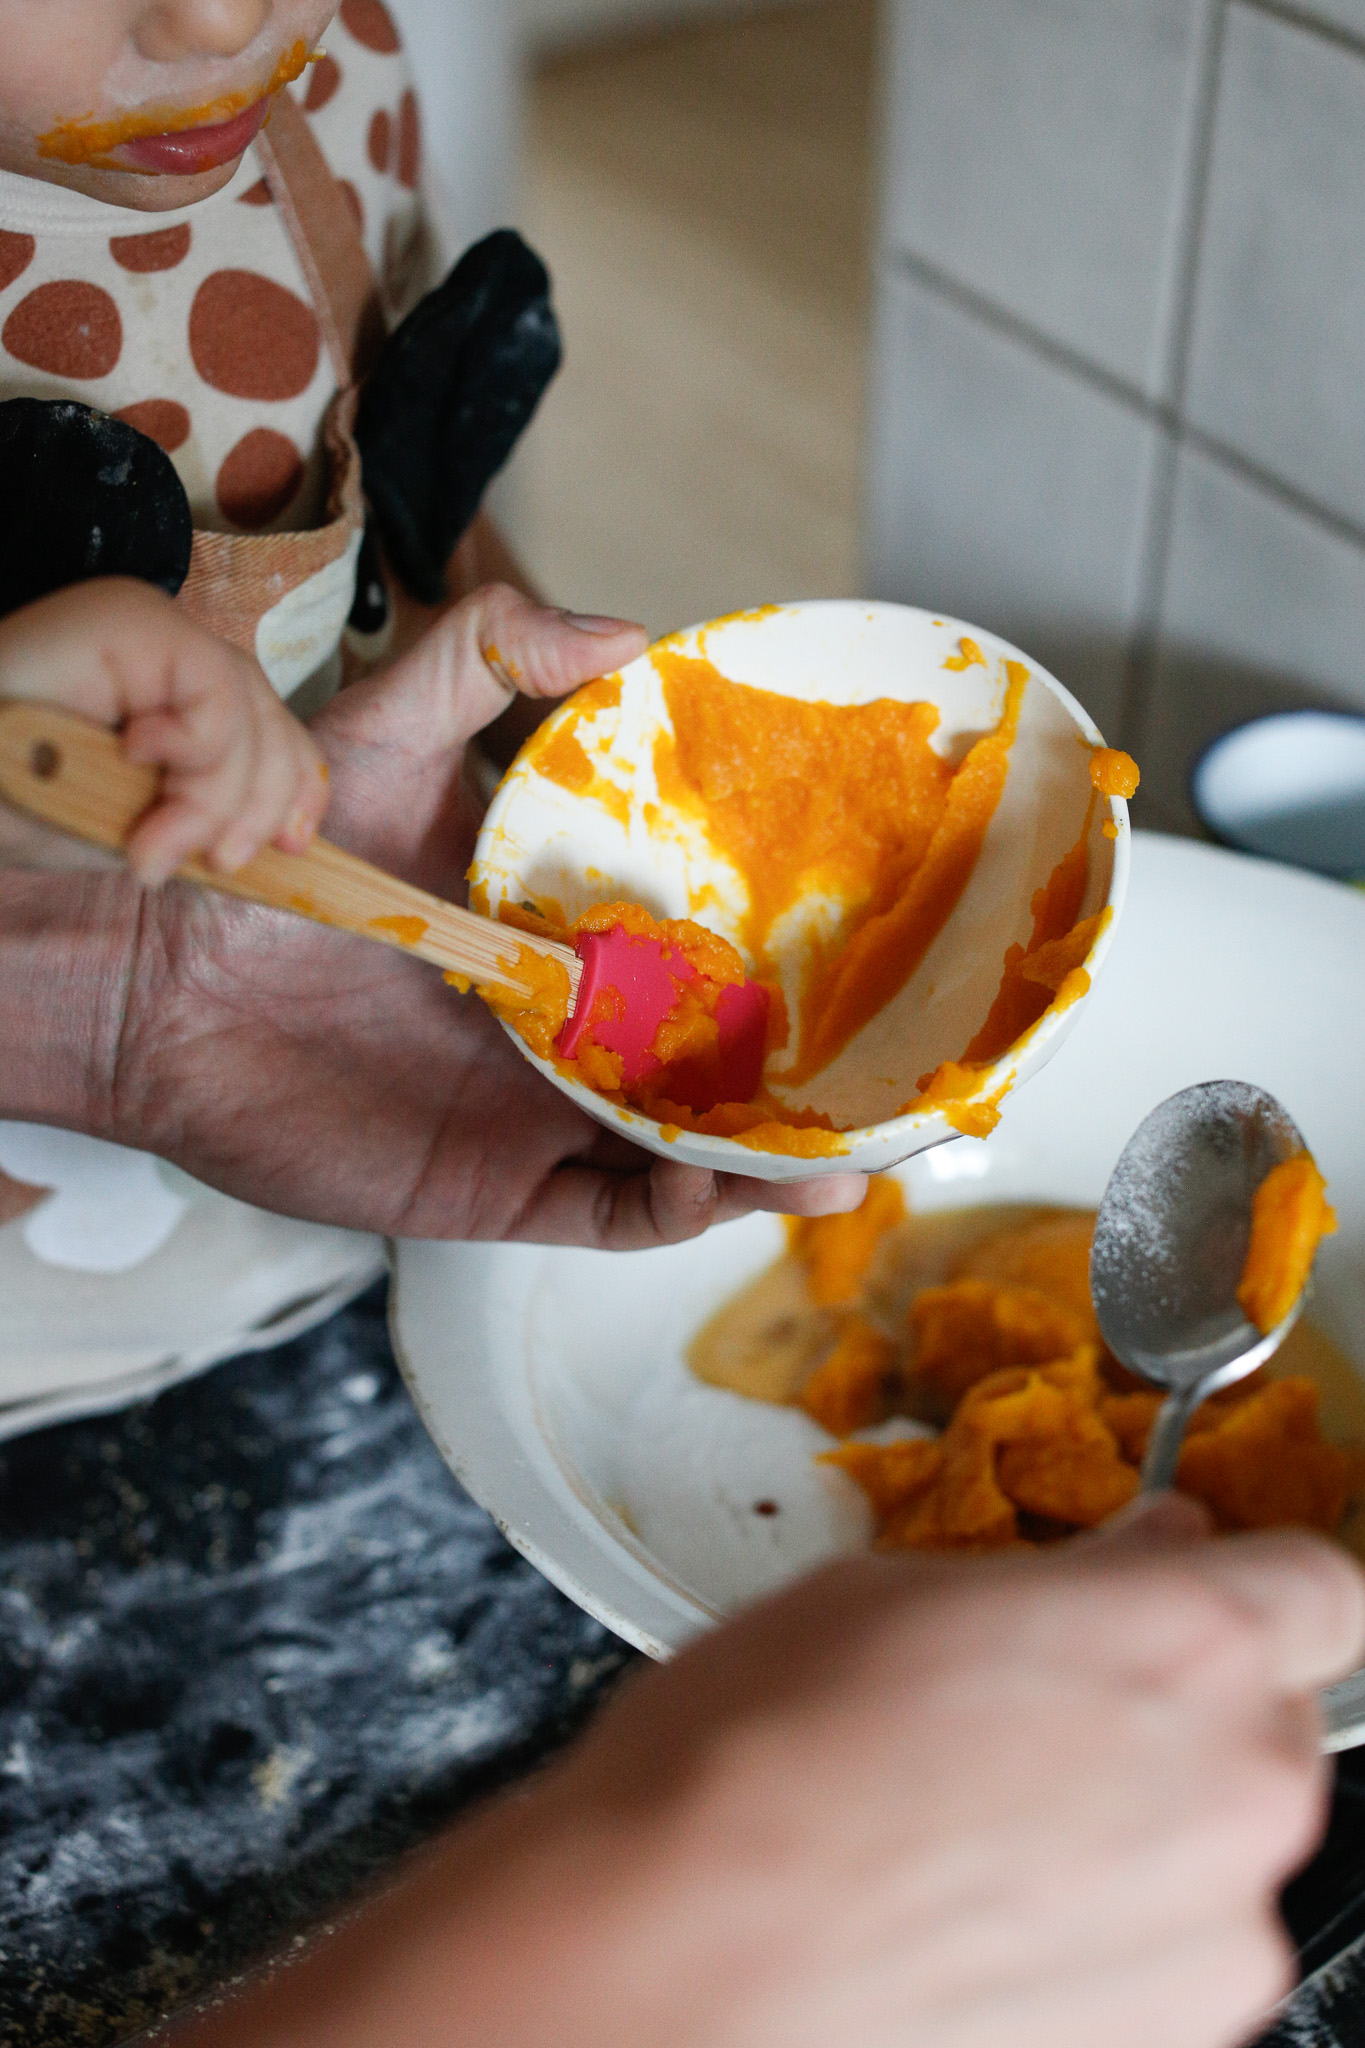
Using the spatula is very tricky for kiddos. Takes lots of practice. Notice the orange mouth from non-stop tasting ...
Best to whisk together here as you do want the wet ingredients mixed thoroughly. Experimental whisking may cut it here
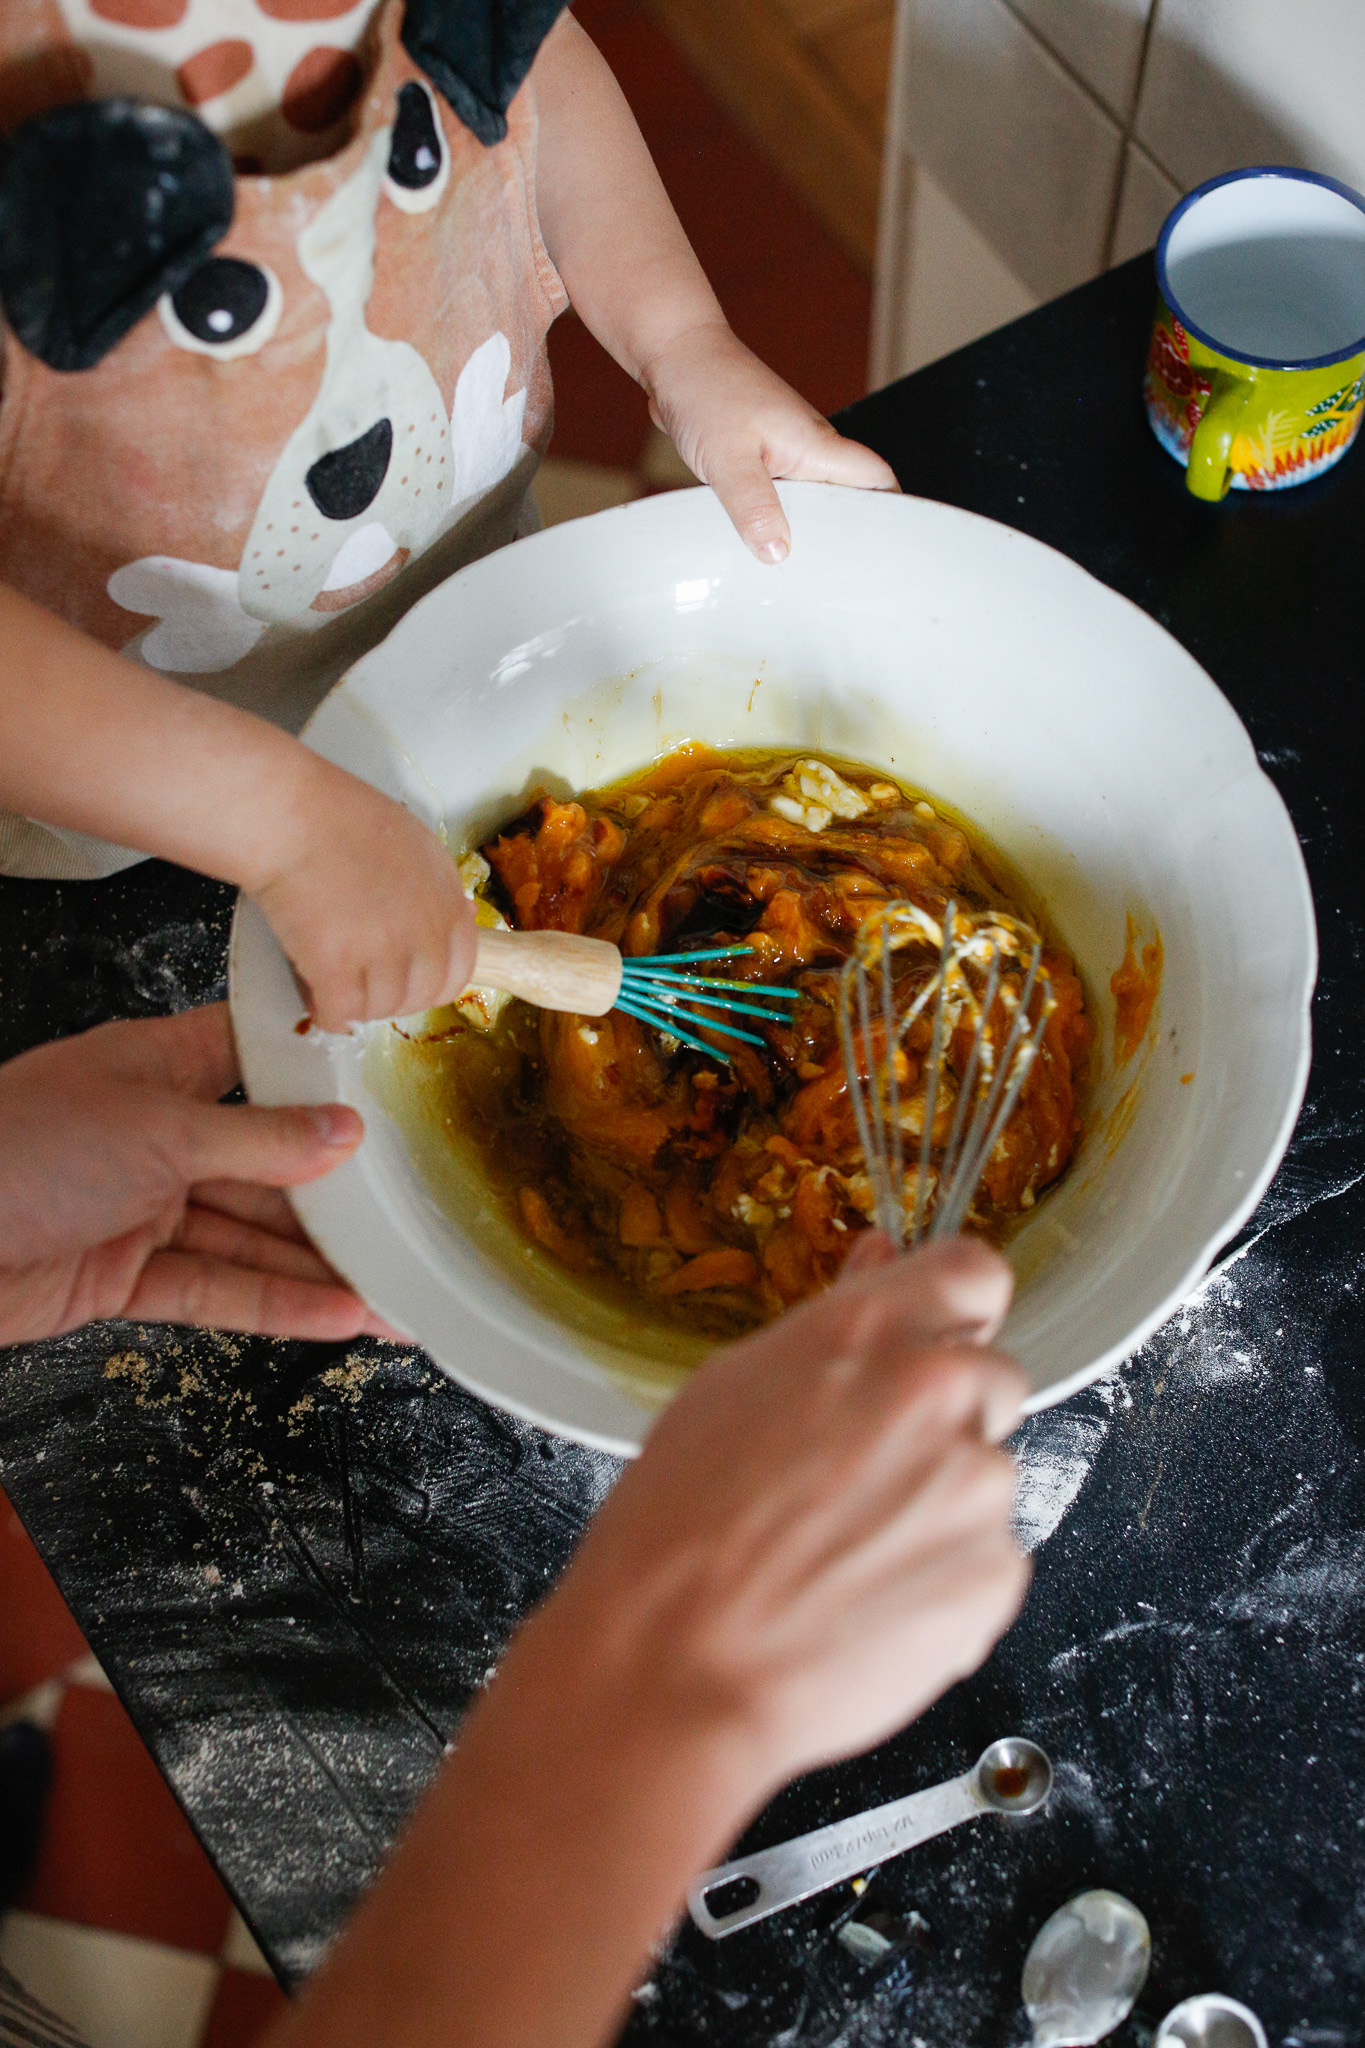
This part is awesome especially if your kiddo is starting to loose steam. Let them get dirty!
I personally use my hands a lot in cooking so I encourage this especially if a toddler is hesitant to get dirty
This is a perfect place to stop mixing. Leaving some pockets of dry goods unmixed will aid in the fluffiness of your muffins
Splitting up the activity can be a good idea. Here it was time for our daughter's nap so we put a plate on top of the bowl and into the fridge for part 2 after she wakes
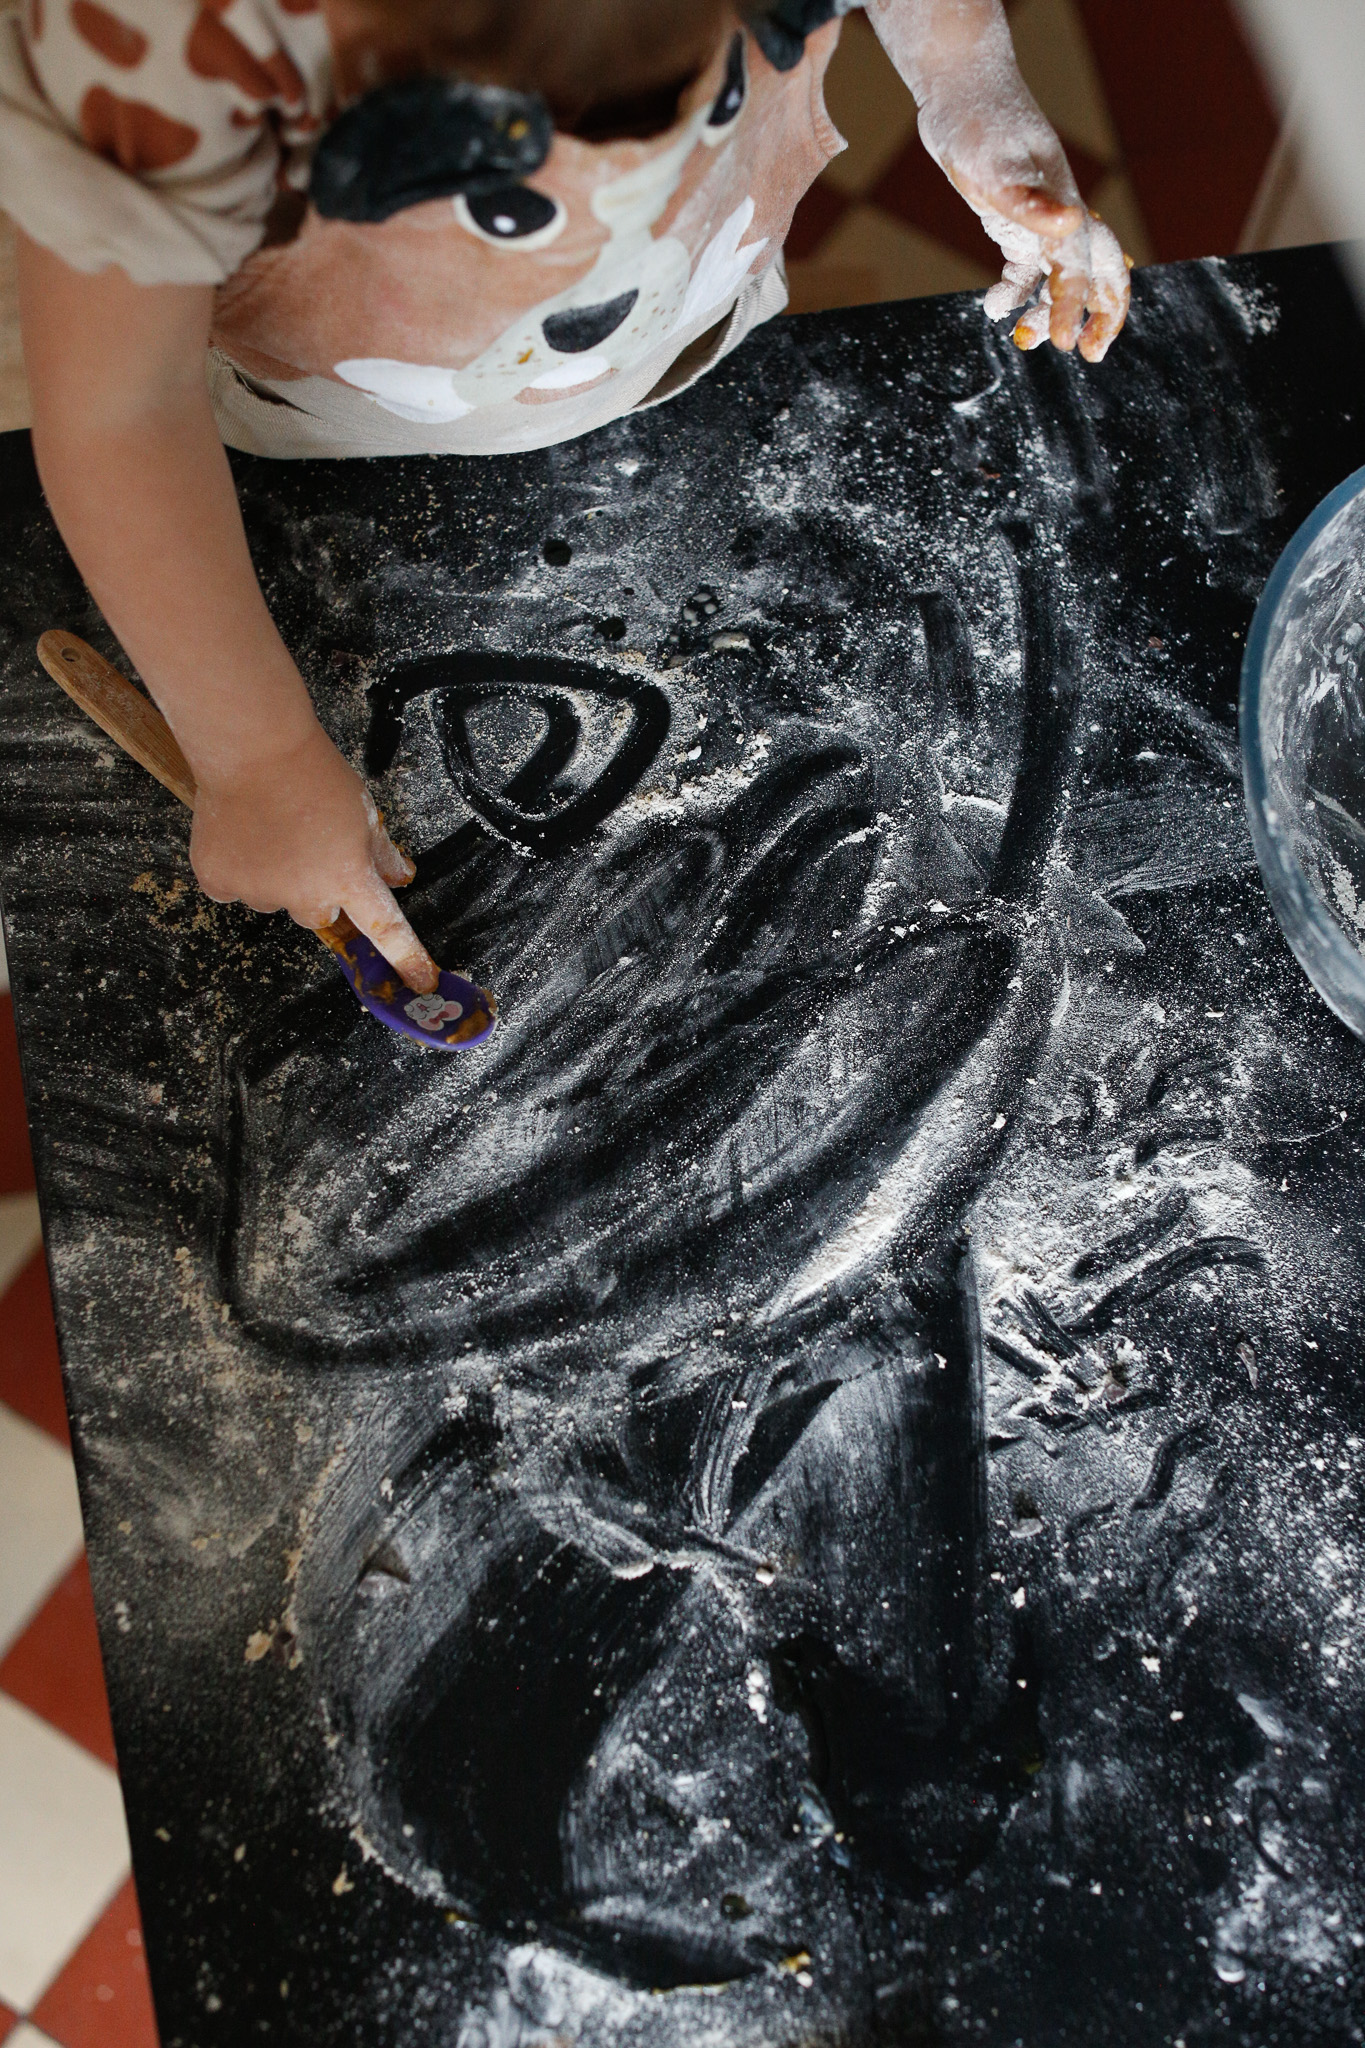
Perfect time for some creativity. He included her in some cleanup too. She loves using the sponge
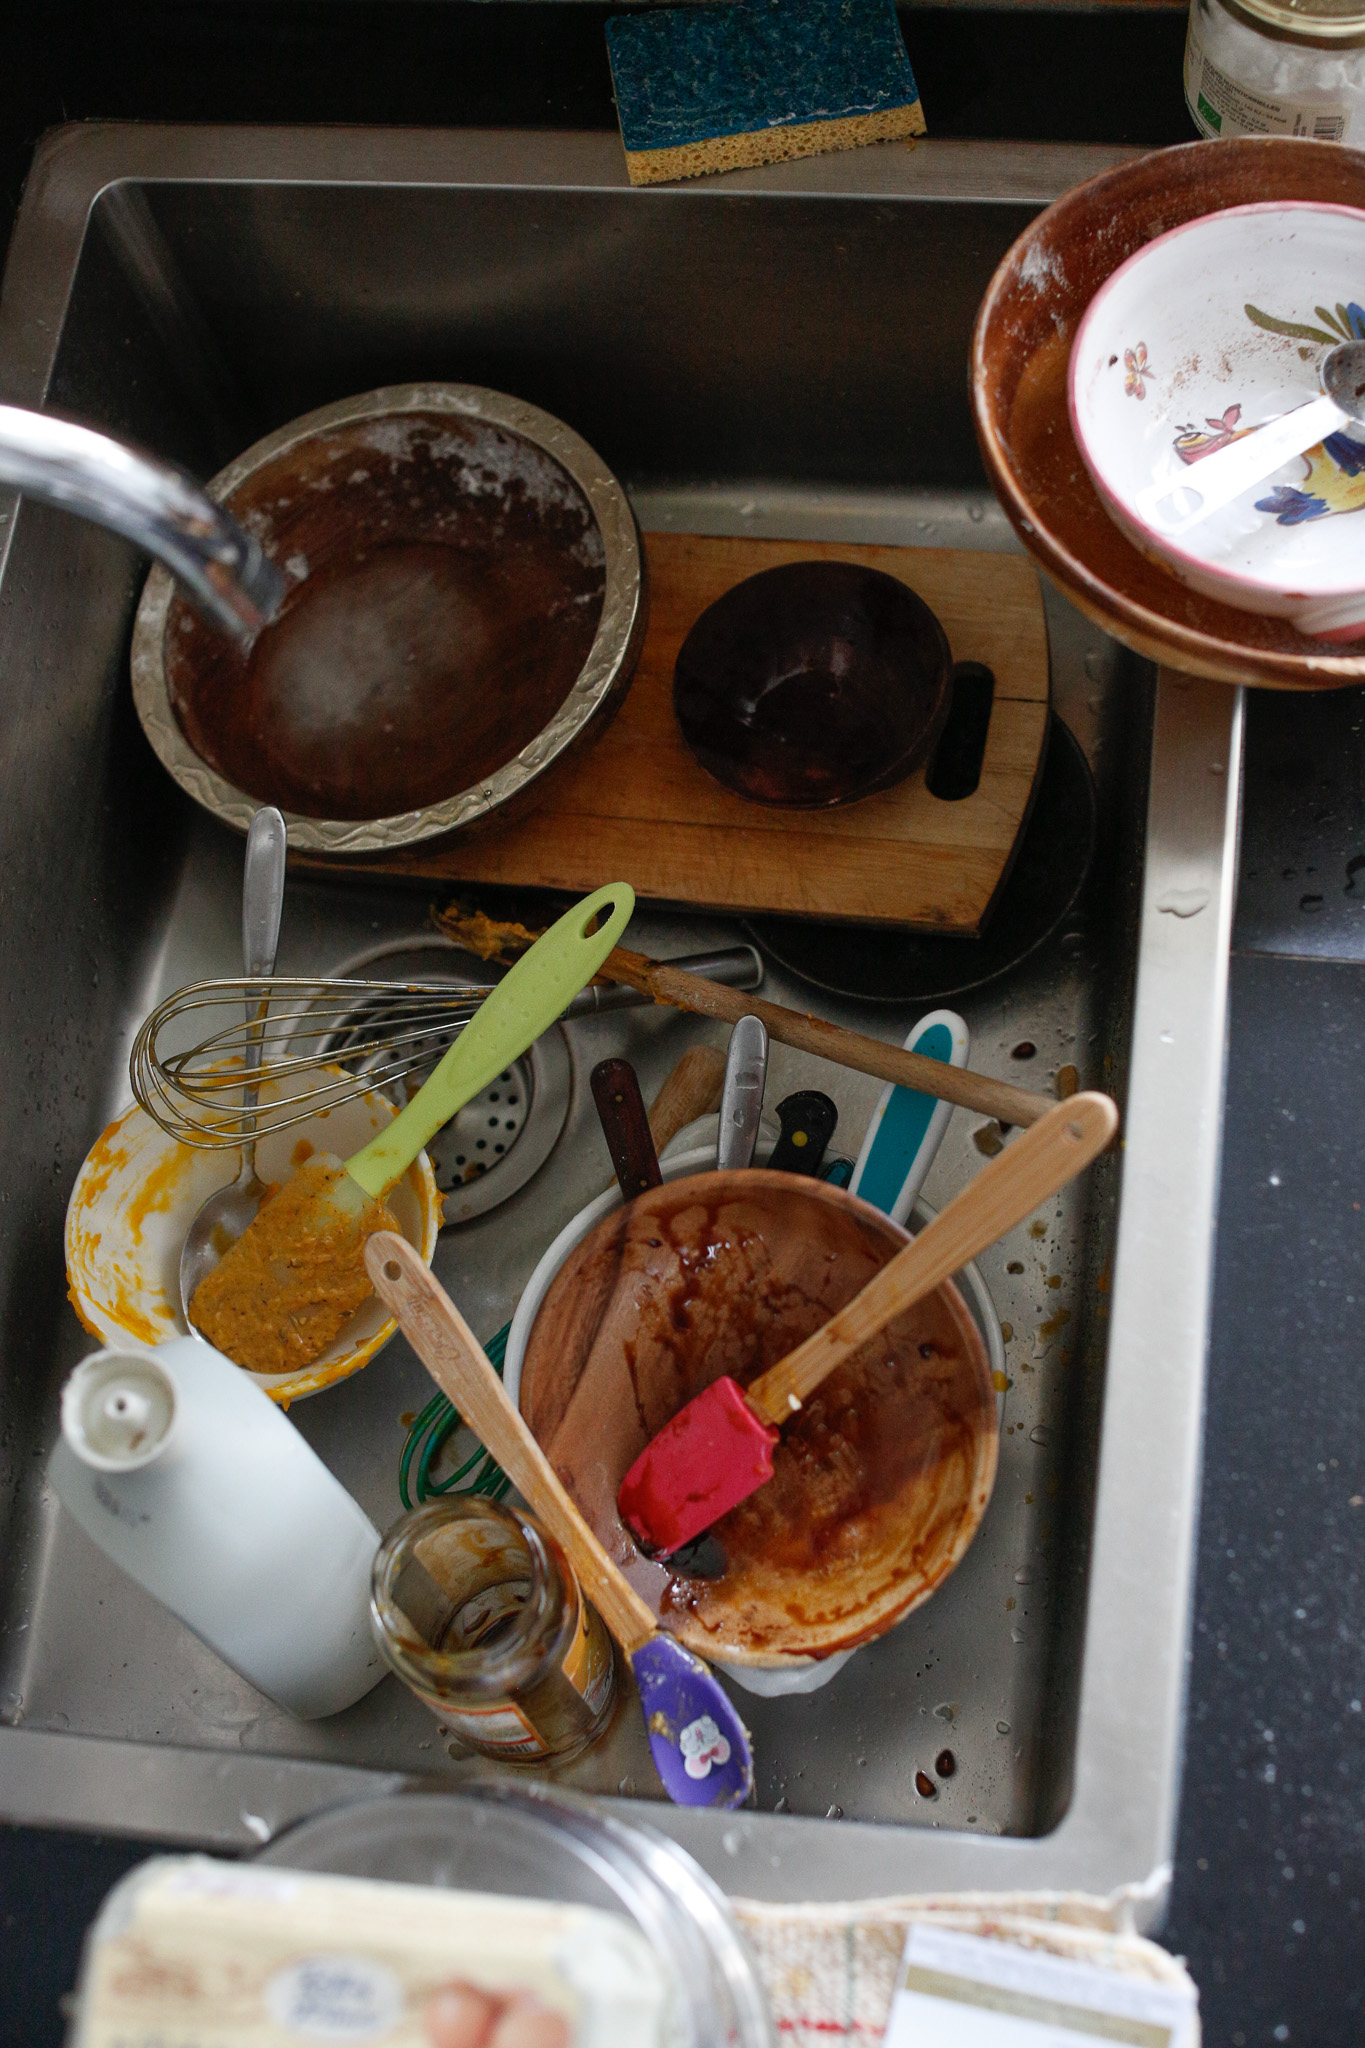
Scratch clean-as-you-go. It's so much easier to pile the dishes in the sink and leave them for after
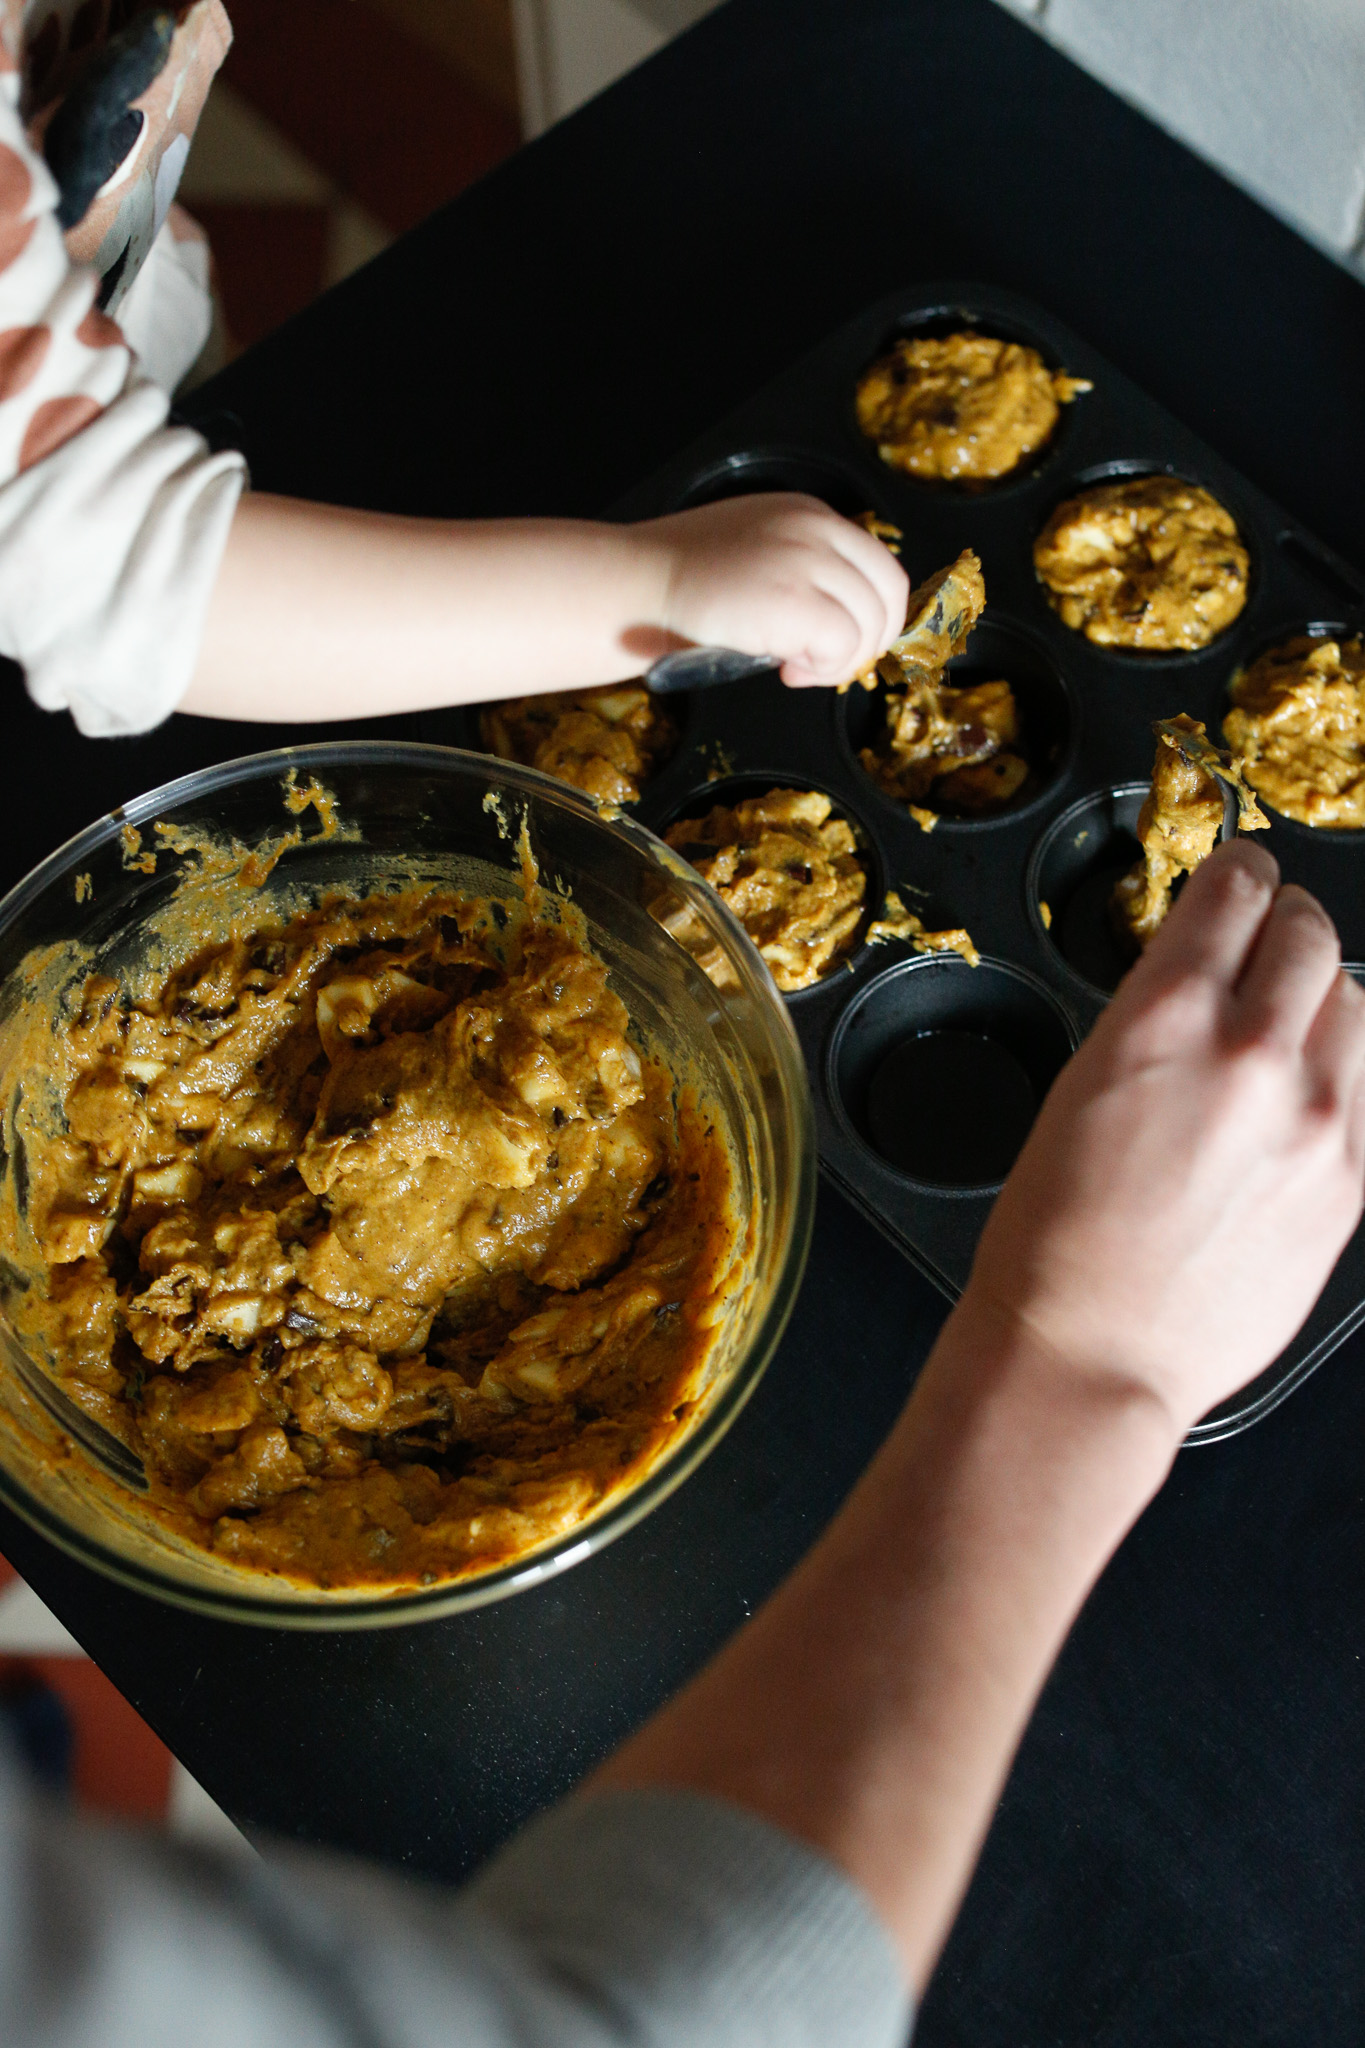
More "together" work. Give them the space to not be perfect. Trust that they are trying to get the dough in the hole.
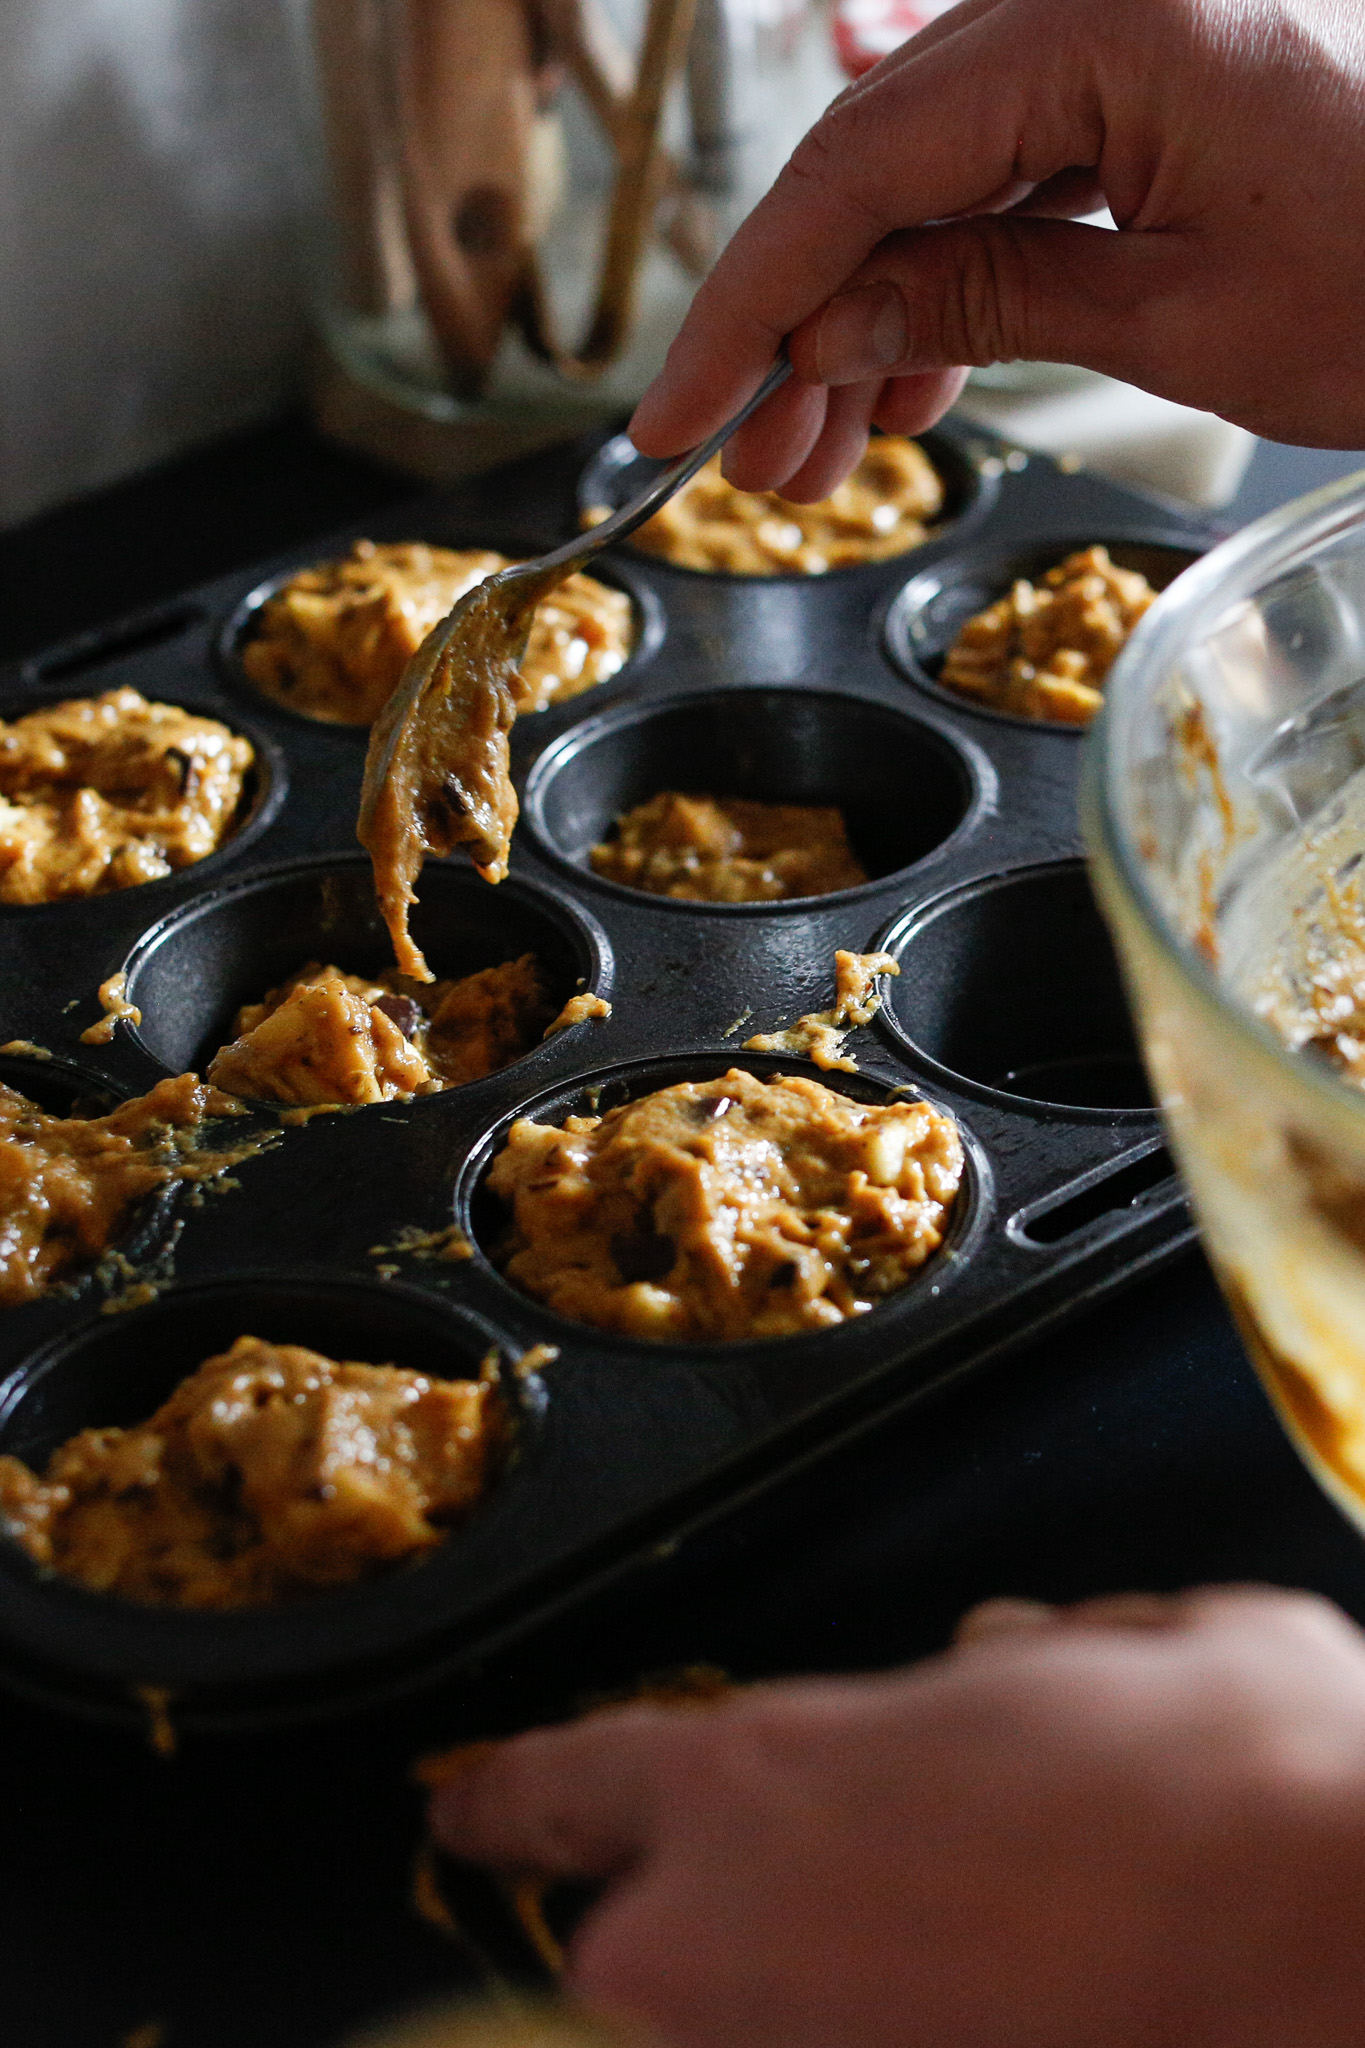
Let them have a break if they want. This is a lot of work! You can finish off and clean up around the sides of the pan so that it doesn't burn
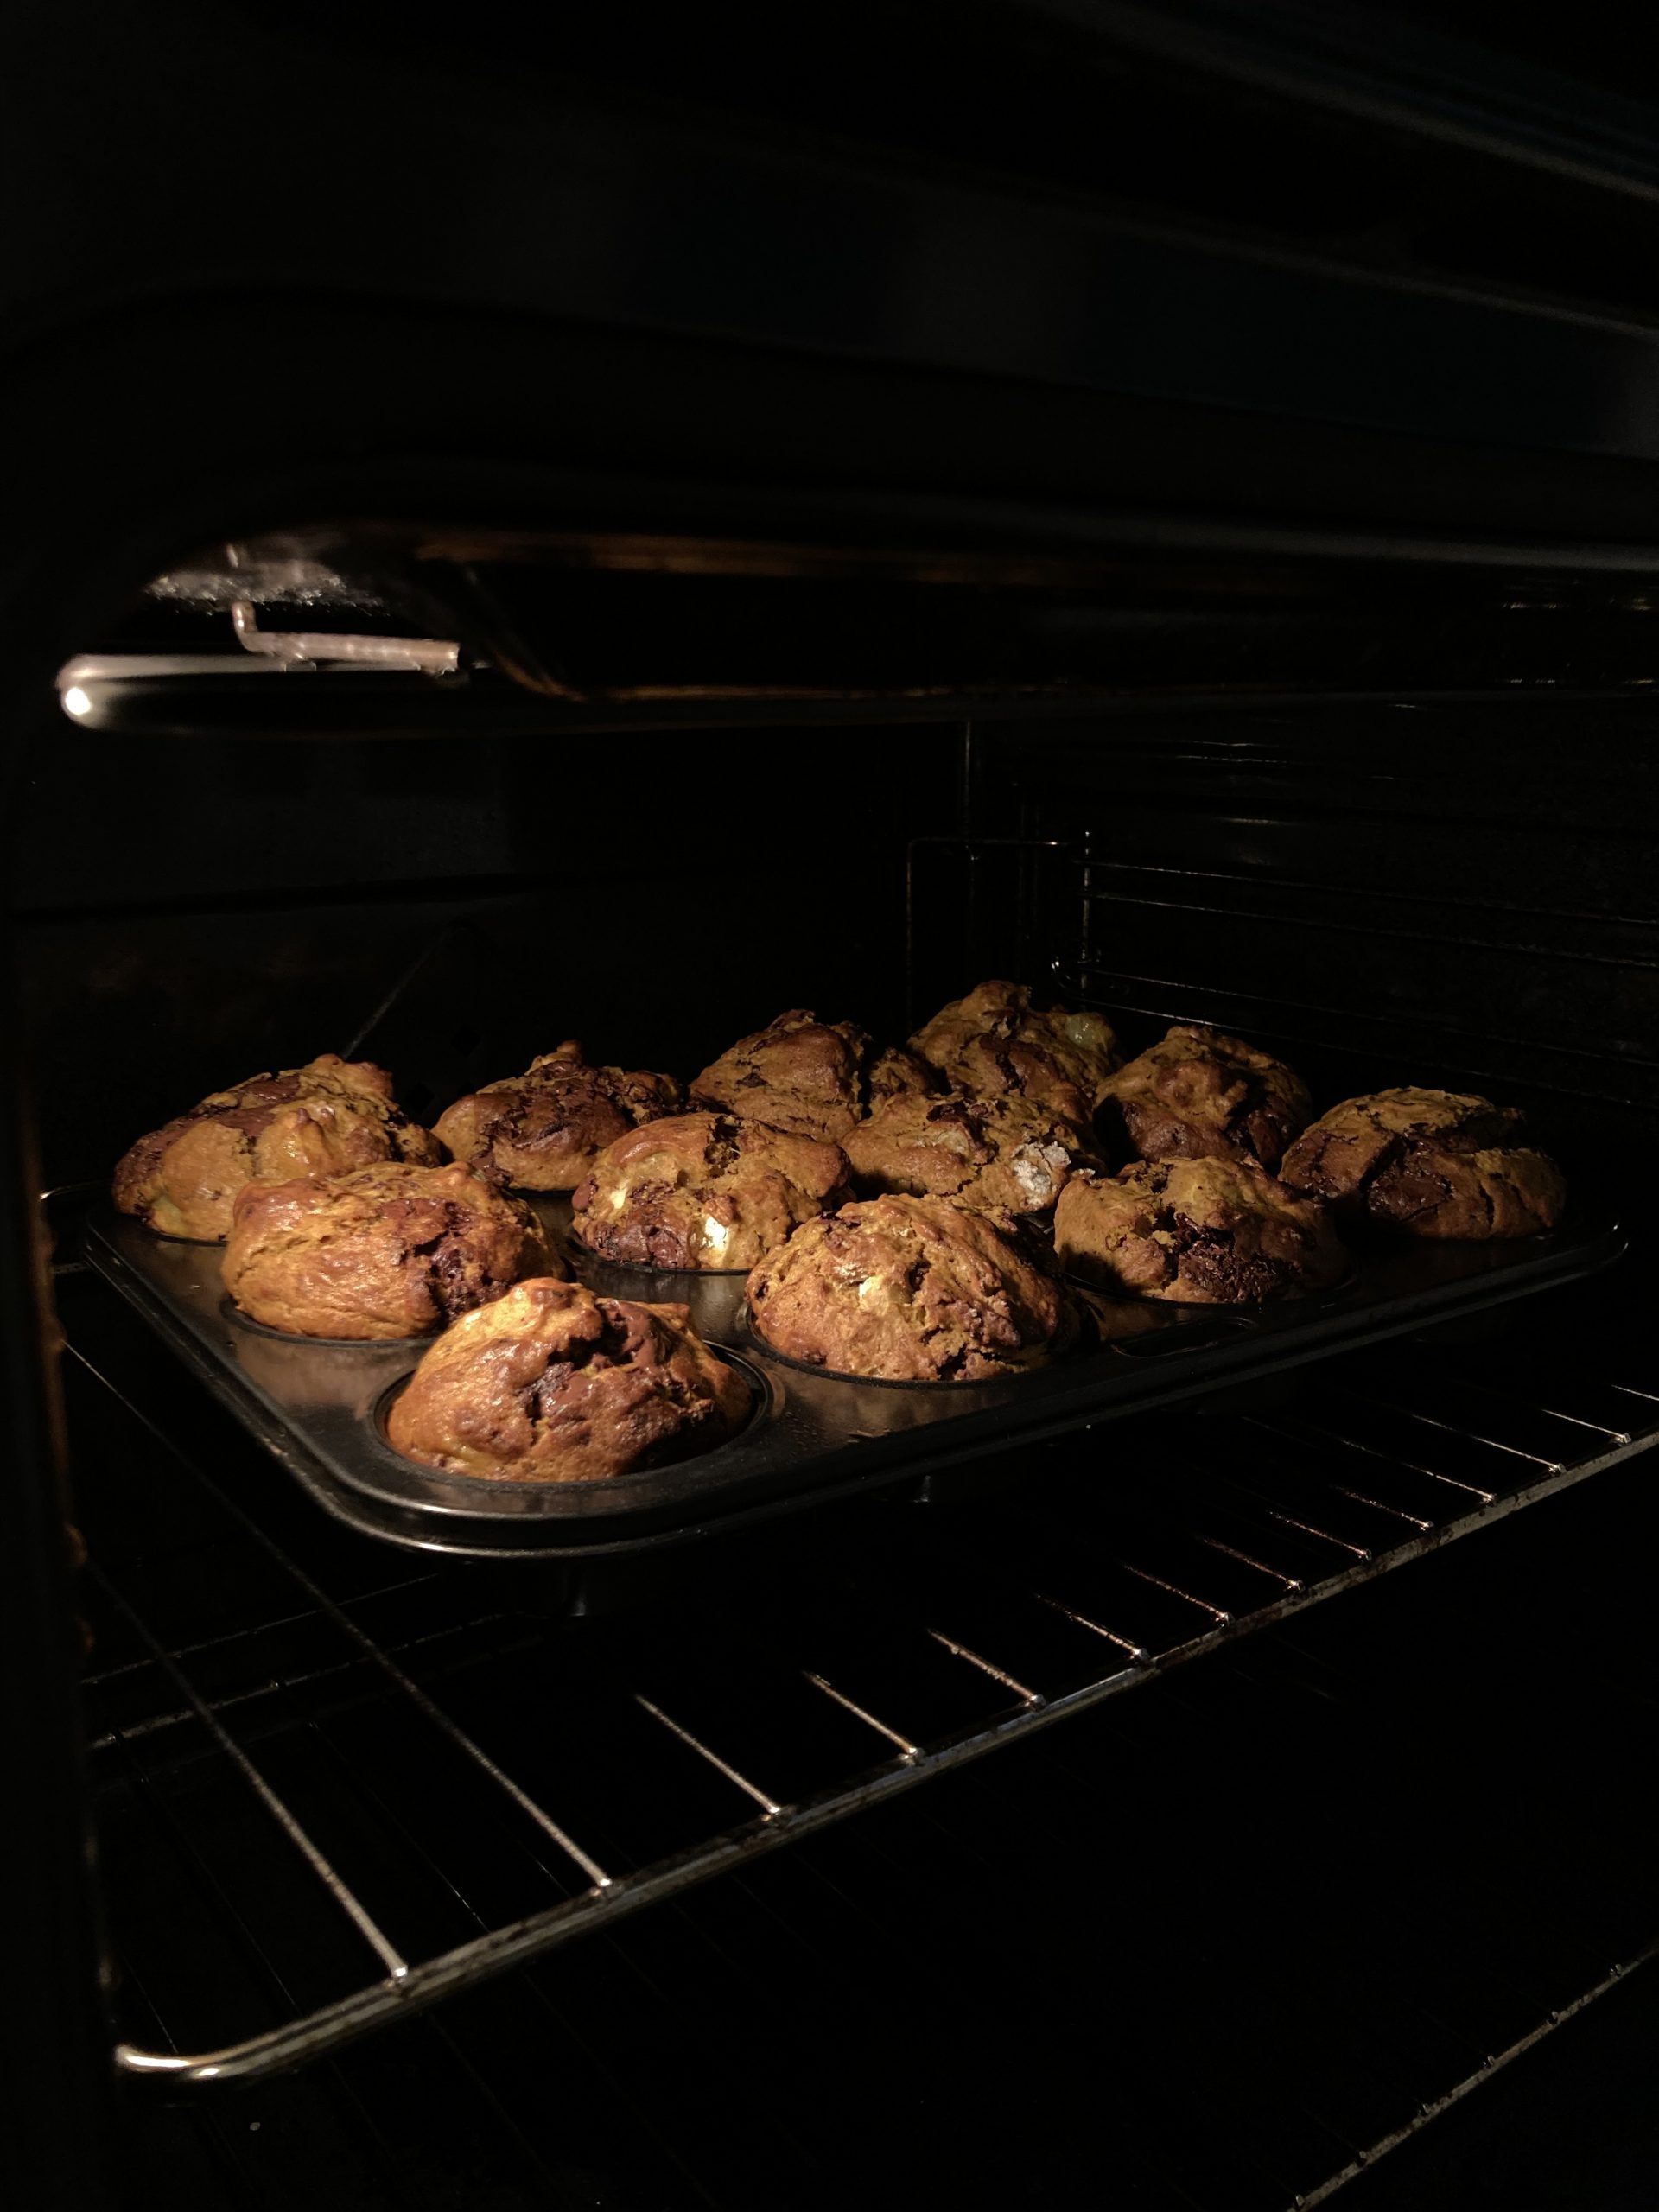
One of the nicest parts is watching the muffins rise. It's a sweet way to relax and see the fruits of your labor
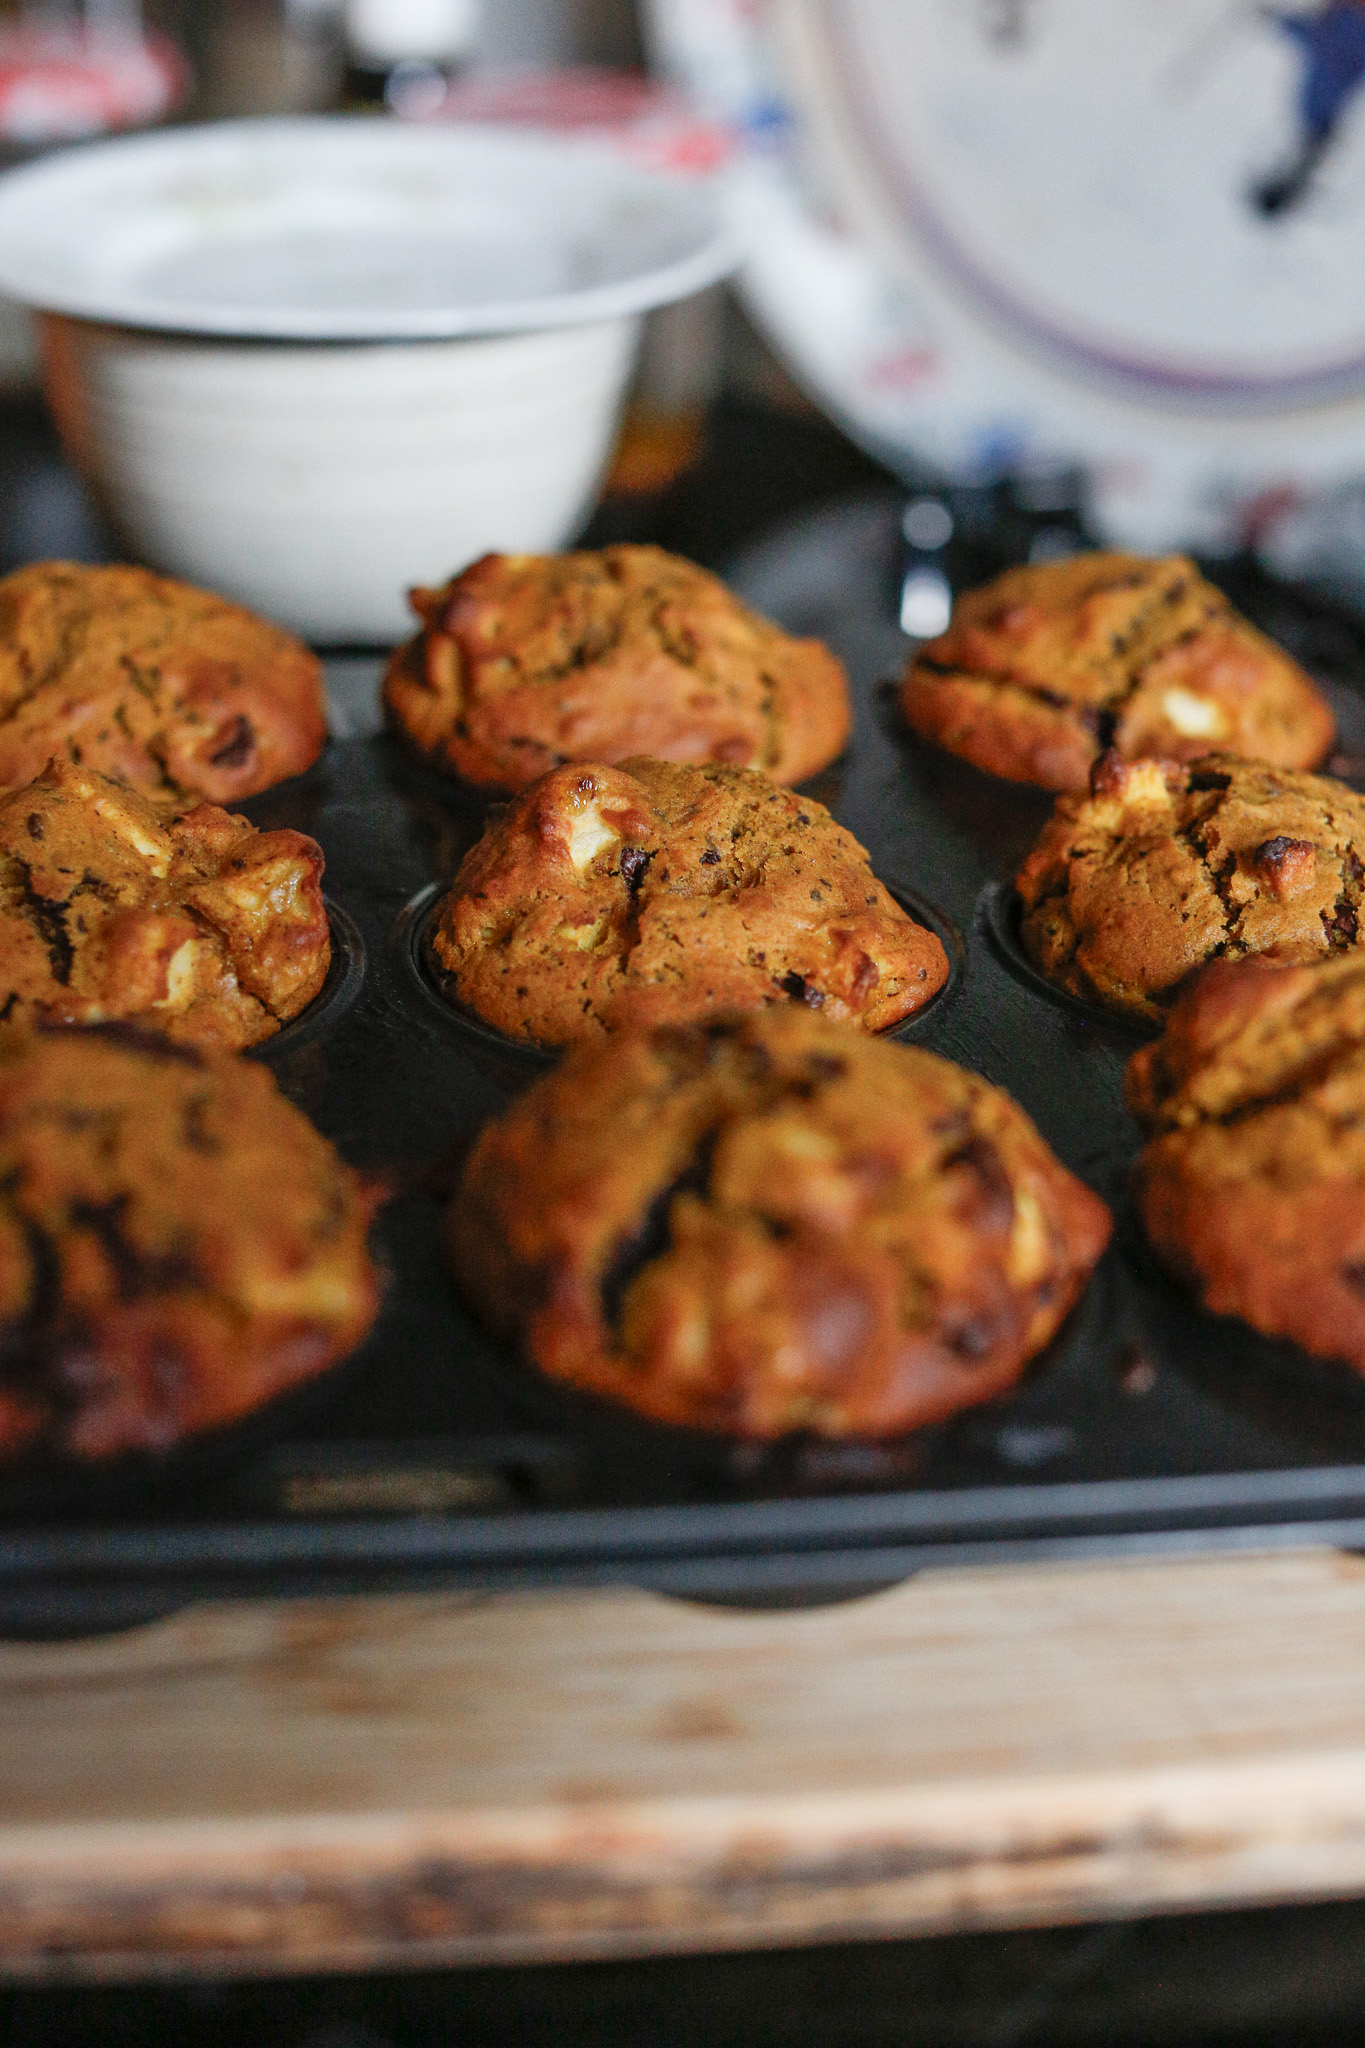
Worth waiting for pumpkin season! Aimee's muffins are the best!
I’ve adjusted this recipe to meet my two and eight month old in her kitchen journey. Make sure to adjust the steps to meet your child where they are in their developmental stage and their (and your) comfort level in the kitchen.
I look forward to pumpkin season to make Aimee France’s muffins with my daughter. They are so delicious and Aimee’s recipe is forgiving. There are lots of ingredients but trust me, it’s worth it! And even though there are a lot of ingredients, they are divided up into dry and wet, which keeps it simple.
I’ve adjusted this recipe to meet my daughter in her kitchen journey. She is comfortable in the kitchen now and loves helping. She wants to do everything herself “like a big girl.” More importantly, I am comfortable with her in the kitchen (mostly). She now measures out each ingredient whereas before I would have each ingredient pre-measured out. Please note, I am always assisting her when she is measuring. Do what is best for you and your kiddo in order to enjoy yourselves.
When my daughter was younger and new to the kitchen, I did this recipe differently. I started by pre-measuring out all the ingredients, putting them in small recipients and letting her do all the pouring into the bowls. This was simple and she was happy to be a part of this.
Once she got good at pouring, I added in whisking and mixing, using child size utensils (this makes a difference for them.)
Egg cracking was next and this took lots of time. In fact, she mostly got her practice in by making scrambled eggs for us.
One of my favorite parts of making these muffins with her is we always sat by the oven, hung out and watched the muffins rise while they baked. She loved this part too.
Adjust the steps to this recipe to meet your child where they are in their developmental stage and their (and your) comfort level in the kitchen. I can’t encourage this enough. I believe it’s much better to do simple tasks that will build your child’s confidence than push them too far creating an environment for over-stimulation and meltdown.
Like anything, cooking with your child takes practice. But once you reach a point where you and they feel comfortable in the kitchen, it’s fun, a great way to bond and an excellent way to teach life skills.
Below, I list all the ways I prepare myself. I also list out what your child will be practicing.
Wherever you are in your kitchen journey with your kiddo I always recommend setting yourself up the best you can.
I have found it very useful to eliminate my phone to reference the recipe and write out each of the wet and dry ingredients on post-it notes that I stick on the cupboard. This way I have all their quantities at eye level, hands free. This makes it so much easier to read and just be present with my daughter.
Here is what your child will be practicing while making this recipe :
Measuring ingredients with different sized teaspoons
Weighing out ingredients with a scale or with different sized cups
Pouring
Cracking (eggs)
Cutting (apples)
Aiming (filling the muffin tins)
Cleaning up
Working together with daddy, mommy or the caretaker
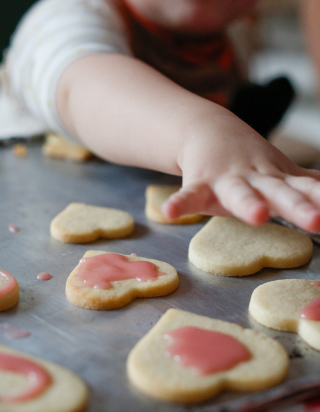
Self-control, not eating too much dough 🙂
Ways to prepare yourself :
-we always encourage you to read through the Step by steps prior so that you are familiar with the recipe and you can decide for yourself what you want to pre-prep
-accept that it will get messy and let it!
-plan on being absolutely present with your kiddo during the entire process best you can
-if you are measuring with your child prepare post-its with each ingredient and it’s measurements for quick use
-gather all the ingredients out on the counter, out of child’s reach
-if your child is not measuring, pre-measure each ingredient so their ready to pour
-consider pre-peeling & pre-slice the apples, if that feels good to you, leaving your kiddo to cut up the slices
-cooking with kids is more about the process rather than the outcome. The goal is to make it enjoyable for all!